loading.. Please Wait
1. Overview of the Project Submodule
The Project Submodule in the Work Module enables users to manage projects effectively. Users can track project progress, manage templates, and organize their work using tools like import/export functionality, status updates, and multiple views (tabs).
2. Accessing the Project Submodule
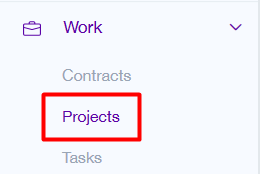
Navigate to the Work module from the left-hand menu.
Select Projects to open the Project Dashboard.
3. Features of the Project Submodule
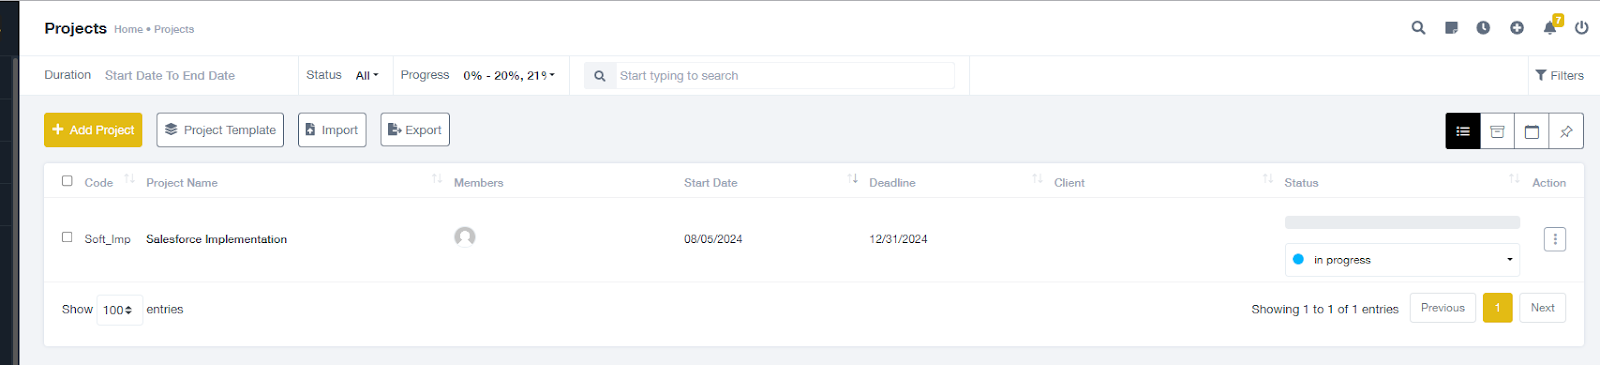
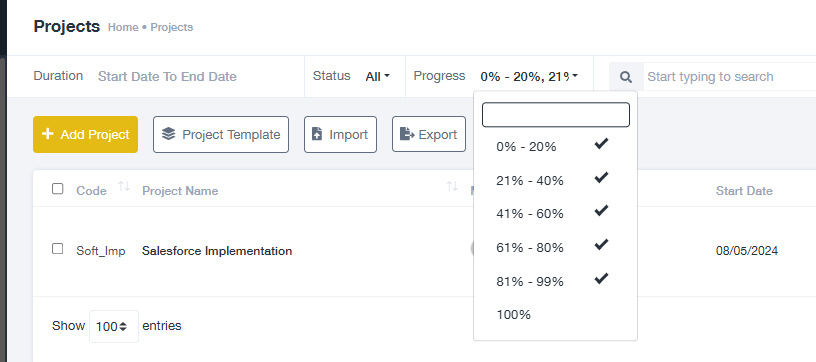
a. Project Listing Page
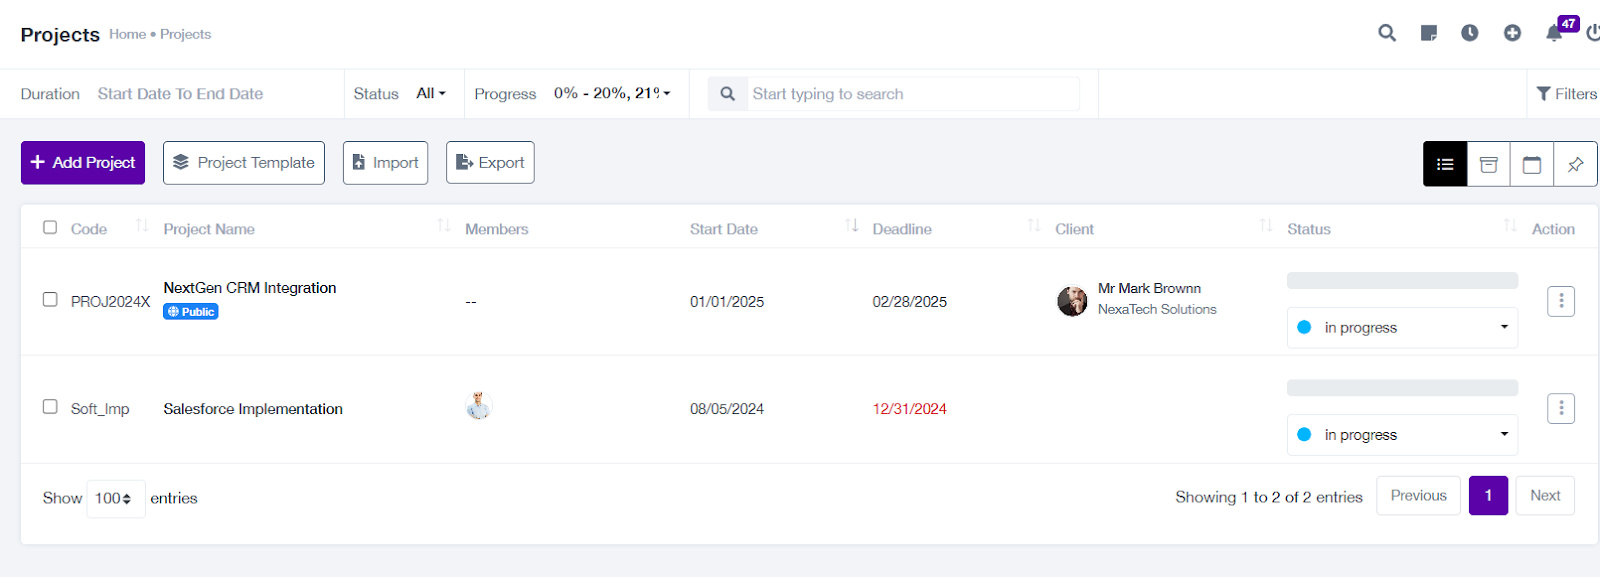
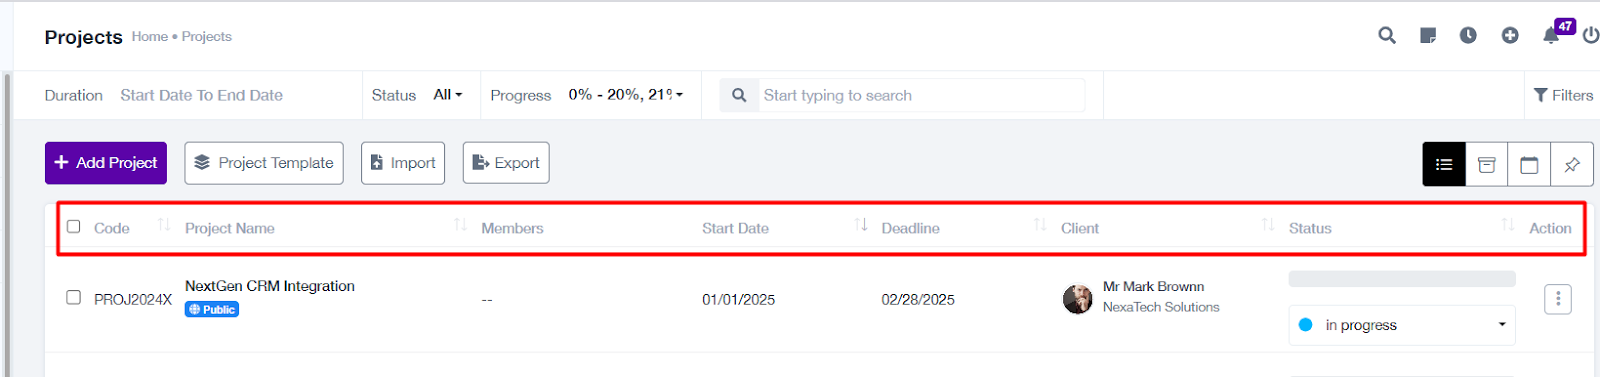
The Project Listing Page provides an overview of all projects.
Columns Displayed:
Code: Unique project code.
Project Name: Name of the project.
Members: Assigned team members.
Start Date: The start date of the project.
Deadline: The project’s completion date.
Client: Associated client name.
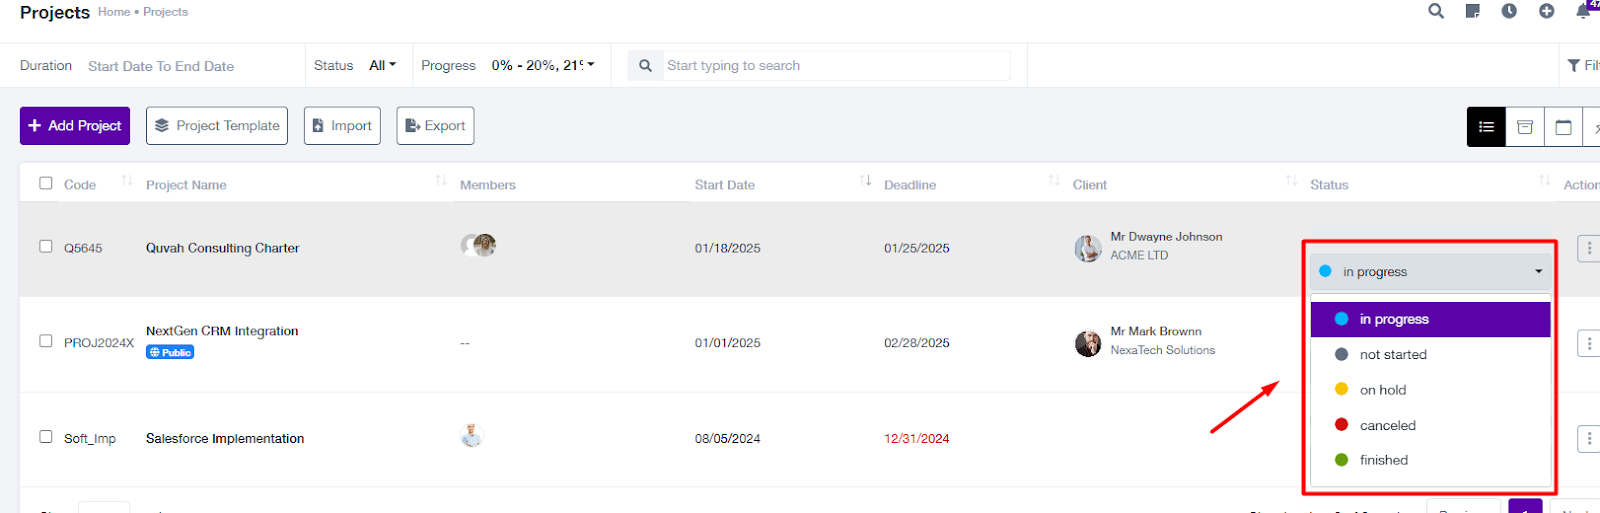
Status: Current project status (e.g., in progress, not started, finished).
Action Items:
View: See detailed project information.
Edit: Modify project details.
Delete: Remove the project from the system.
Other : Duplicate, Gantt Chart, Public task board, Pin project, Archive
Features:
Search: Locate a specific project by typing keywords in the search bar.
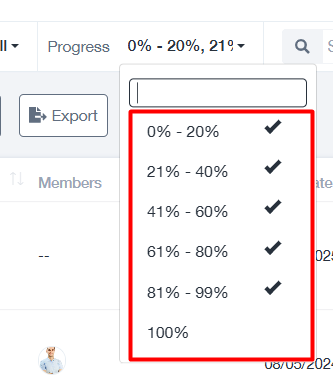
Progress Filter: Filter projects by progress percentage ranges (e.g., 0%-20%, 21%-40%, etc.).
Status Filter: Filter by project status (e.g., in progress, not started, finished).
Duration Filter: Search for projects within a specific start and end date range.
Export: Download project details for reporting purposes.
Import: Upload project data using an import template.
b. Tabs (Projects, Archive, Calendar, Pinned)
The submodule features four distinct tabs to organize projects:
Projects Tab: Active projects are displayed here.
Archive Tab: Displays completed or archived projects for reference.
Calendar Tab: Shows projects and their deadlines in a calendar view for time-based tracking.
Pinned Tab: Highlighted projects for quick access are shown in this tab.
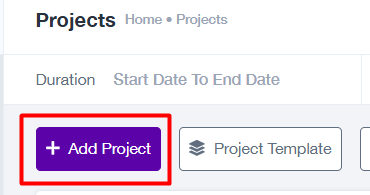
c. Add Project
To create a new project:
Click the "Add Project" button.
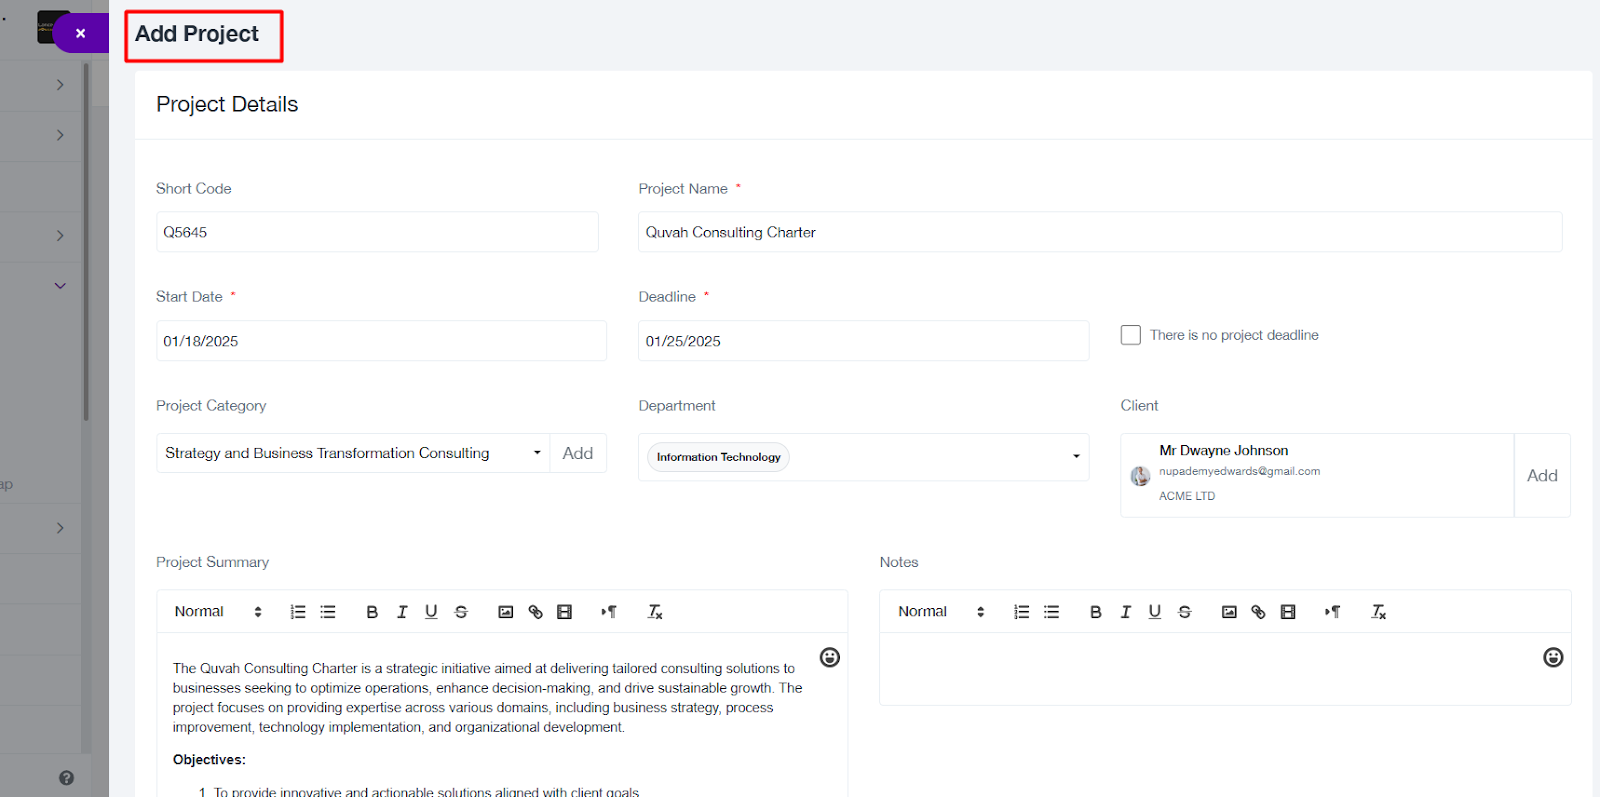
Fill in the Project Details:
Short Code: A unique project identifier.
Project Name: Name of the project.
Start Date and Deadline: Specify the timeline. Check "There is no project deadline" if applicable.
Project Category: Select or add a category for classification.
Department: Choose the relevant department.
Client: Link the project to a client profile or add a new one.
Project Summary and Notes: Provide descriptive details using the text editor.
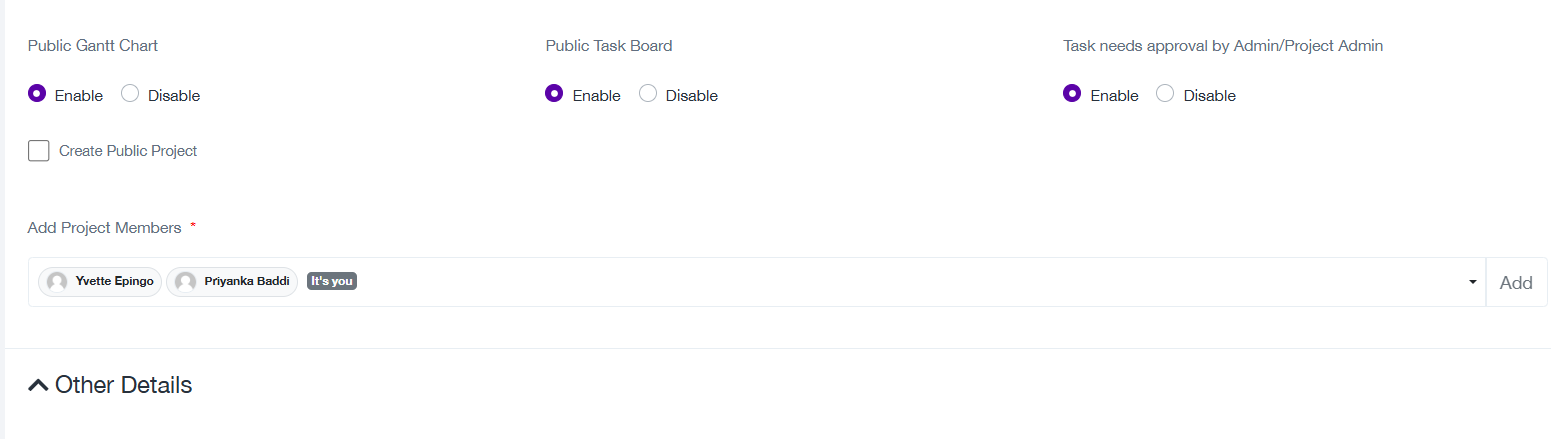
Public Gantt Chart and Public Task Board: Enable or disable these options as needed.
Add Project Members: Assign team members to the project.
Additional configurations include enabling task approvals by Admin/Project Admin.
Click "Save" to create the project.
d. Project Templates
Standardize project creation using predefined templates.
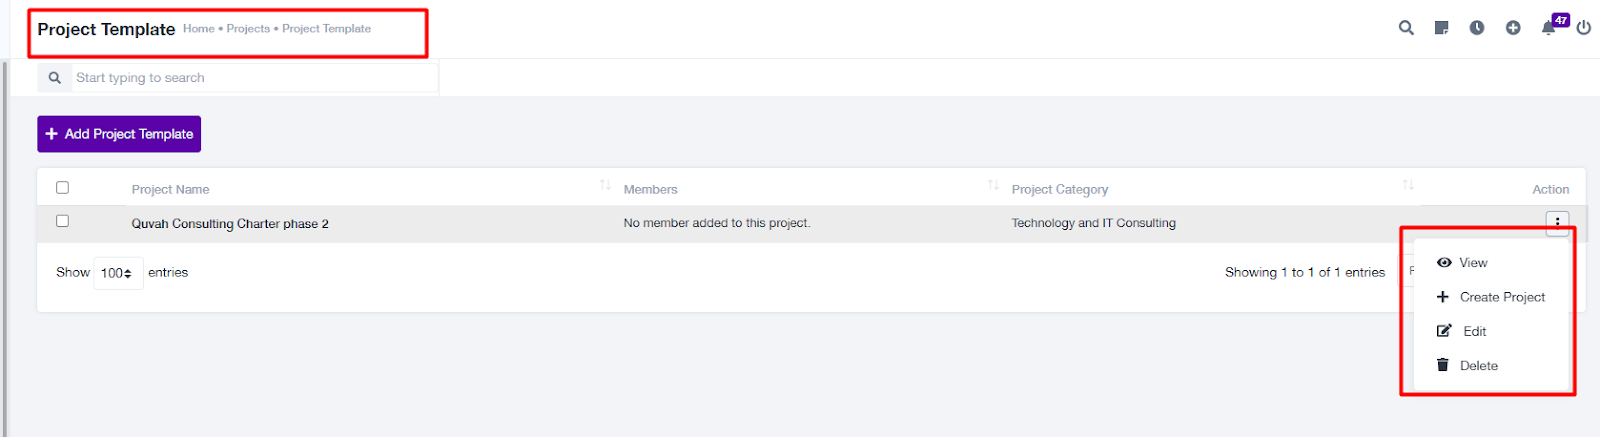
Project Template Listing Page:
Displays existing templates with columns such as:
Project Name: Template title.
Members: Default members assigned to the template.
Project Category: Classification of the template.
Options to View, Edit, or Delete templates.
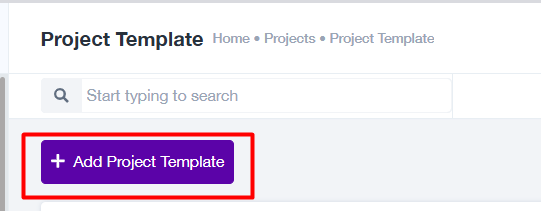
Add Project Template:
Click "Add Project Template".
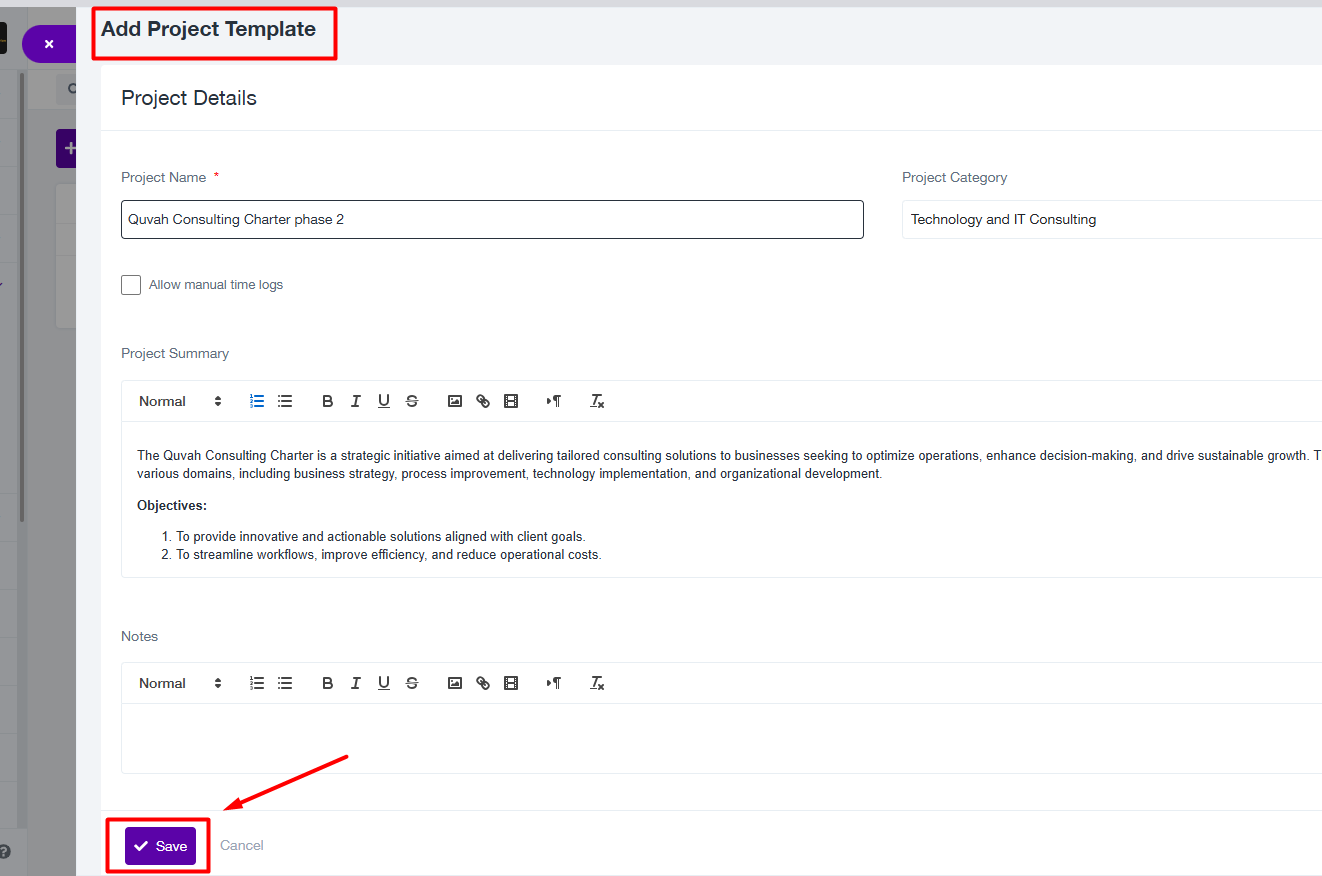
Fill in the Template Details:
Project Name: Name of the template.
Project Category: Select or create a new category.
Project Summary and Notes: Add details using the text editor.
Allow Manual Time Logs: Enable or disable this feature for the template.
Click "Save" to save the template.
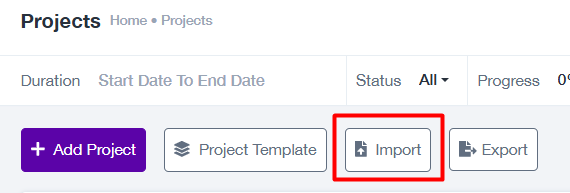
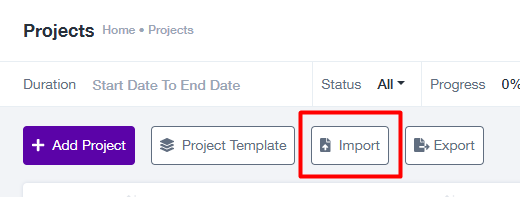
e. Import Functionality
Use the Import button to upload project data:
Download the import template from the system.
Fill in the required details in the template file.
Upload the completed template file to the system.
Review the imported data to ensure accuracy.
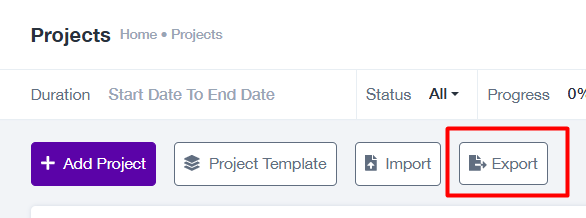
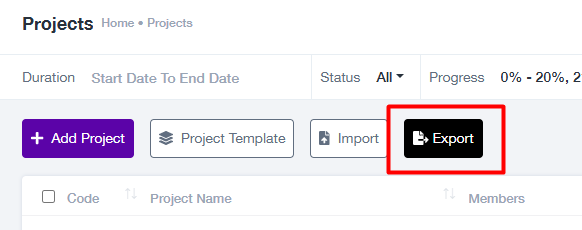
f. Export Functionality
The Export button allows users to download project information for reporting or record-keeping. Export options are available for:
Active projects.
Archived projects.
Project templates.
4. Project Status
Track projects using predefined status categories:
Not Started: The project has been created but not initiated.
In Progress: The project is actively being worked on.
On Hold: The project is temporarily paused.
Canceled: The project is terminated and will not continue.
Finished: The project has been completed successfully.
5. Best Practices
Leverage Templates: Use project templates for repetitive project types to save time and ensure consistency.
Organize with Tabs: Use the Archive tab for completed projects to keep the active projects tab clean.
Monitor Progress: Regularly update progress percentages to reflect project stages accurately.
Export Data: Use the Export feature to generate reports or backups for project tracking.
The Project Submodule enhances efficiency by combining detailed tracking, template standardization, and robust filtering capabilities. For assistance, contact support@projeni.com