loading.. Please Wait
The Lead Contacts Submodule enables you to manage your organization's individual Lead information
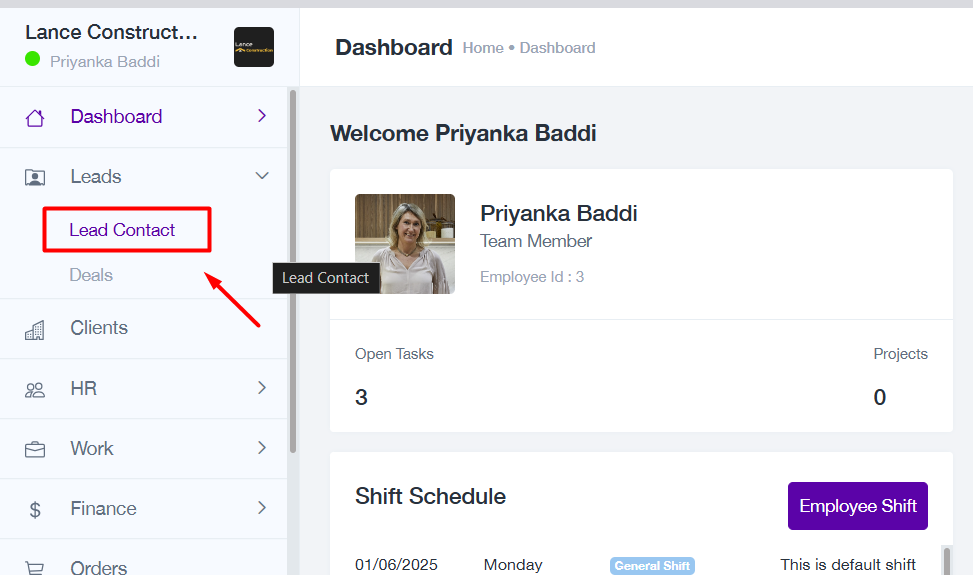
Accessing the Lead Contacts Dashboard
Navigate to the Leads section from the left-hand menu.
Select Lead Contact to access the dashboard.
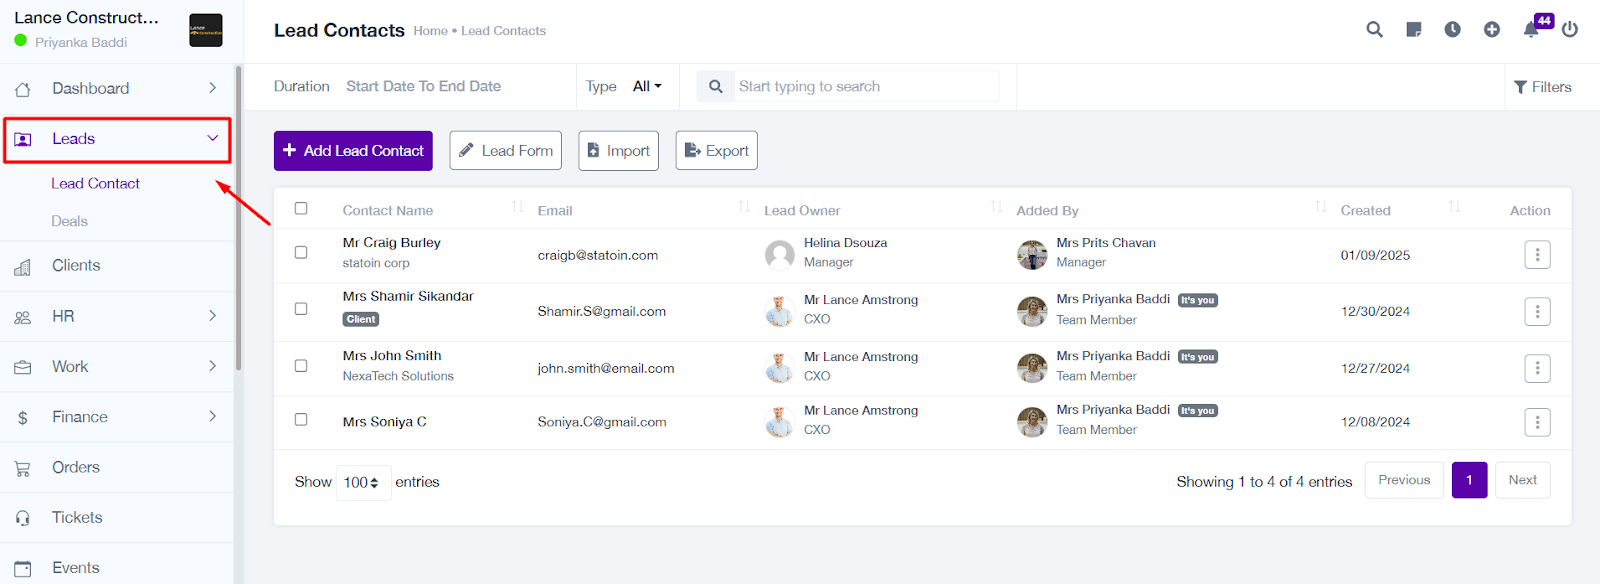
The Lead Contact Dashboard provides a comprehensive list of all leads, allowing you to perform various actions such as adding, searching, filtering, and managing leads.
Features in the Lead Contacts Dashboard
Leads Listing:
Displays lead details such as contact name, email, lead owner, and creation date.
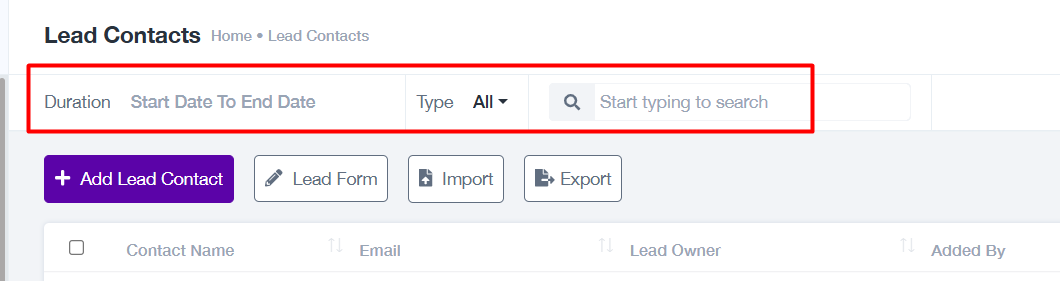
Search and Filter:
Use the Search Bar to locate leads by name, email, or other details.
Apply Filters to refine your view by duration, type, or other criteria.
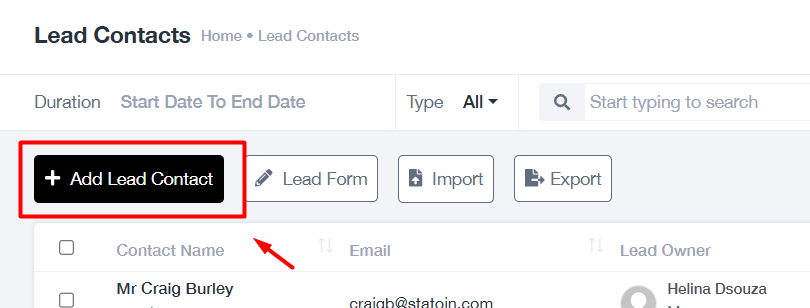
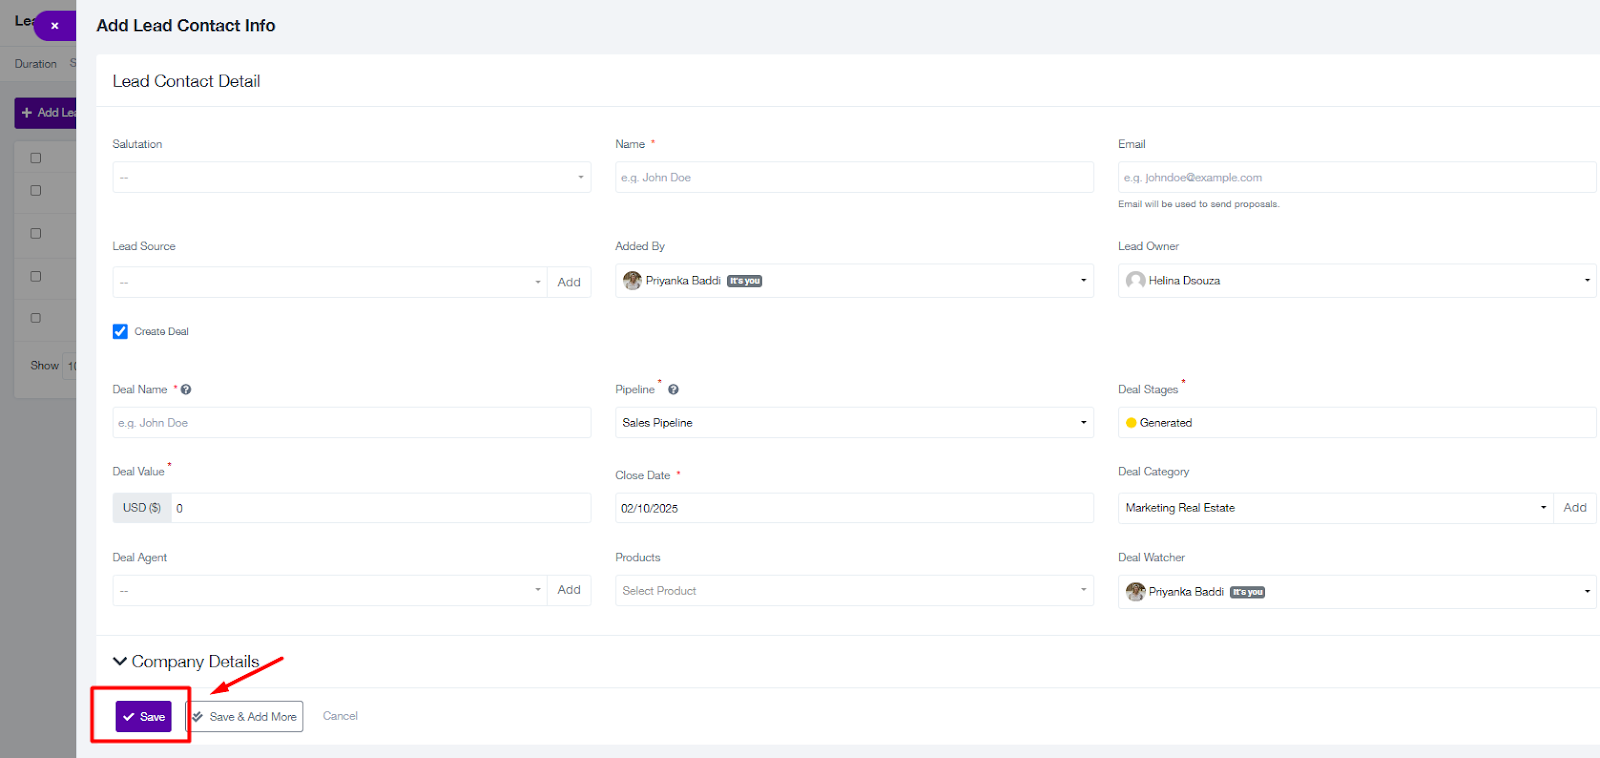
Add Lead Contact:
Click the "Add Lead Contact" button to open the lead form.
Fill in the required fields, including:
Name
Lead Source
Pipeline and Deal Stages (if applicable)
Optionally, create a deal for the lead by selecting the "Create Deal" checkbox.
Click "Save" to add the new contact.
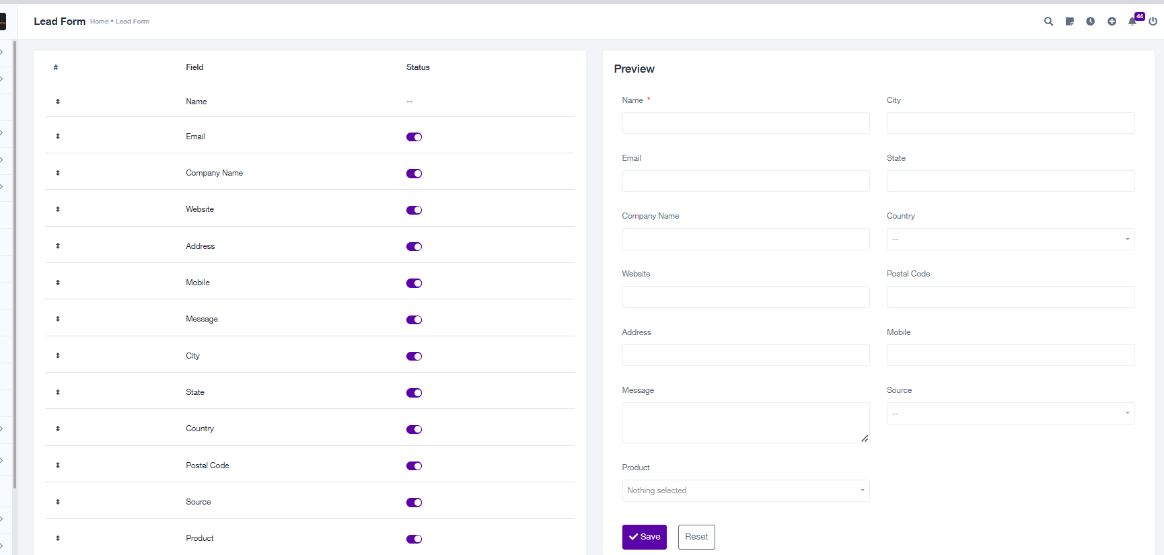
Lead Form:
Generate a Lead Form that can be embedded on your website or shared via a link.
Customize the form fields (e.g., Company Name, Mobile, Message) and save changes.
Copy and paste the generated code or share the direct link to the form.
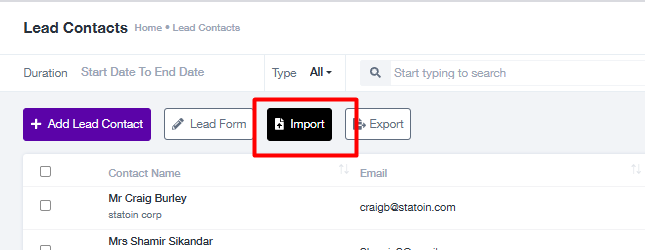
Import Bulk Leads:
Click on the "Import" button to upload multiple leads in one step.
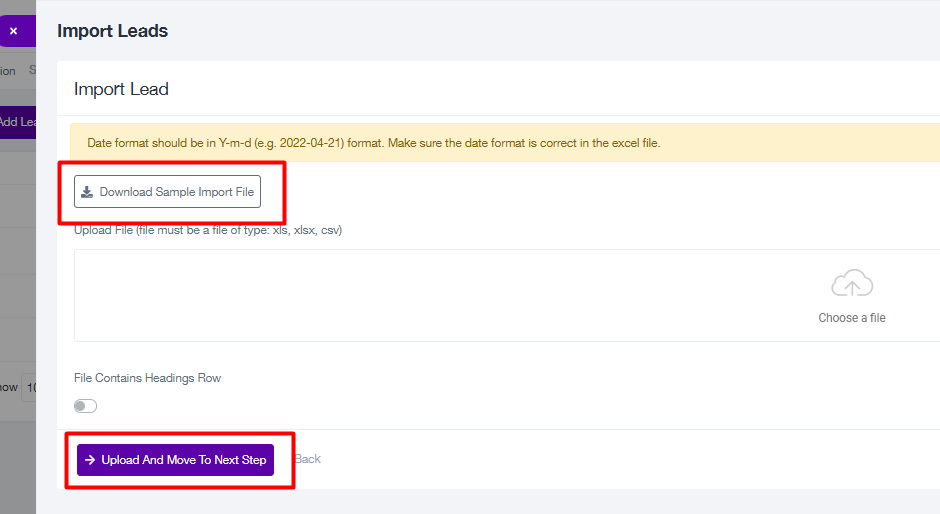
Steps for Importing Leads:
Download the sample template by clicki
ng "Download Sample Import File".
Fill in the required details in the downloaded template. Ensure the date format matches YYYY-MM-DD.
Upload the completed file by clicking "Choose a File" and then select "Upload and Move to Next Step".
The imported leads will appear in the lead listing.
Export Leads:
Click the "Export" button to download the list of leads as an Excel file.
Actions for Individual Leads:
Each lead has an action menu (three dots) that provides options:
View: View detailed lead information.
Edit: Update lead details.
Change to Client: Convert the lead into a client.
Delete: Permanently remove the lead.
Thank you for using the Lead Module!
For further assistance, visit our Support Center or contact us at support@projeni.com