loading.. Please Wait
1. E-Invoice Settings
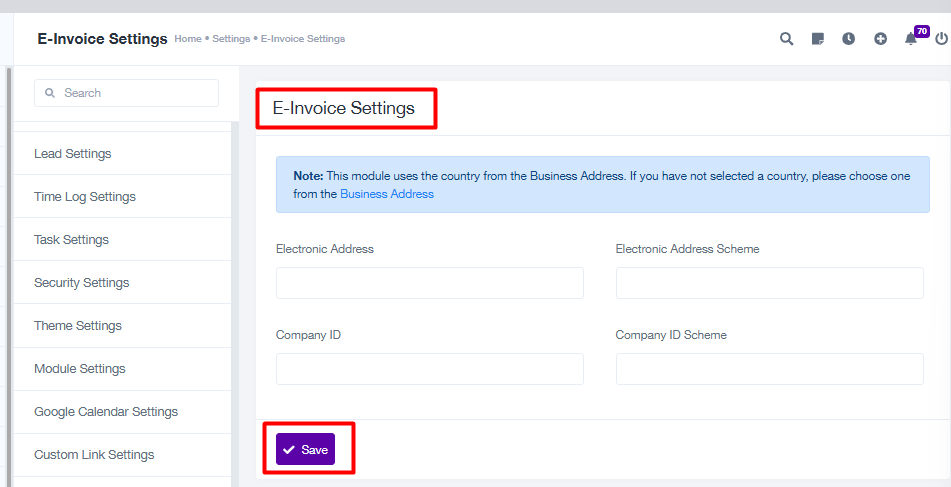
E-Invoice Settings allows businesses to configure electronic invoice details and schemes that are used for invoicing processes.
Steps to Configure E-Invoice Settings:
Navigate to E-Invoice Settings:
Go to Settings > E-Invoice Settings.
Configure the Fields:
Electronic Address: Enter the electronic address that will be associated with e-invoices.
Electronic Address Scheme: Enter the scheme used for electronic address identification.
Company ID: Enter the company identification number used in invoicing.
Company ID Scheme: Enter the scheme used for company ID identification.
Business Address Note:
Ensure that the business address is selected under Settings > Business Address as the E-Invoice module uses the country from the business address.
Save Settings:
After filling in the details, click on the Save button to save the configuration.
Use Cases:
Ensure seamless integration with e-invoice standards.
Comply with electronic invoicing regulations.
2. Payroll Settings
Payroll Settings is used to configure salary components, salary groups, tax deduction schemes, payment methods, and payroll currency settings.
Steps to Configure Payroll Settings:
1. Salary Components:
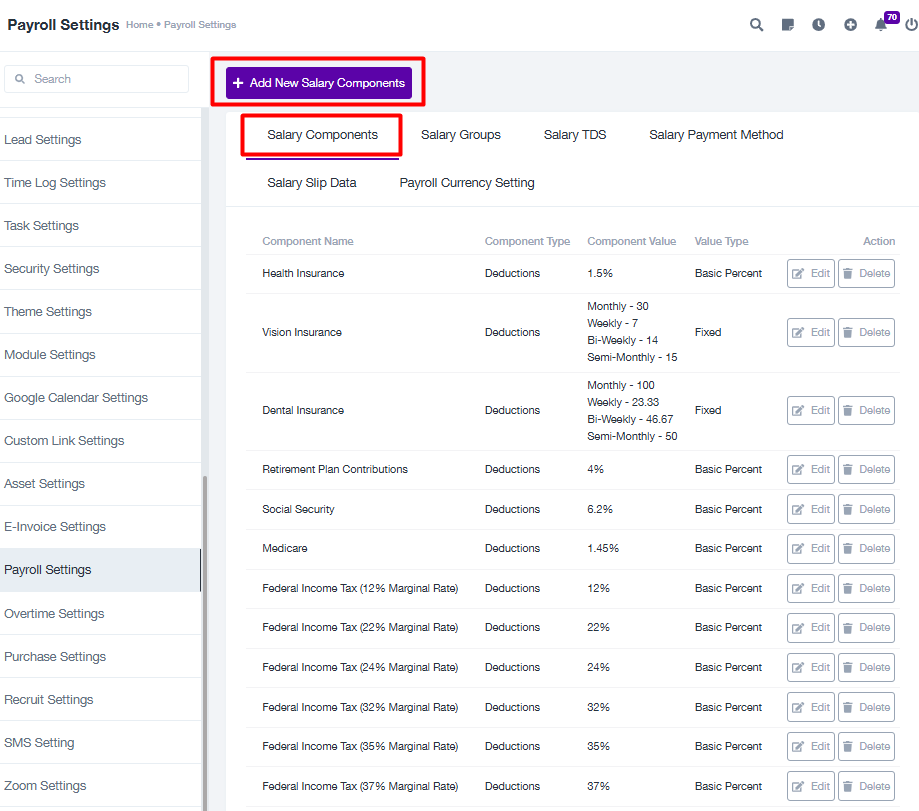
Navigate to Settings > Payroll Settings > Salary Components.
Add or edit salary components (e.g., Health Insurance, Vision Insurance, Retirement Plans).
Configure the following details:
Component Name: Provide the name of the salary component.
Component Type: Choose between Earnings or Deductions.
Value Type: Select Fixed or Percentage based on the requirement.
Component Value: Enter the value for Weekly, Monthly, Bi-weekly, or Semi-monthly payments.
Click Save to confirm changes.
2. Salary Groups:
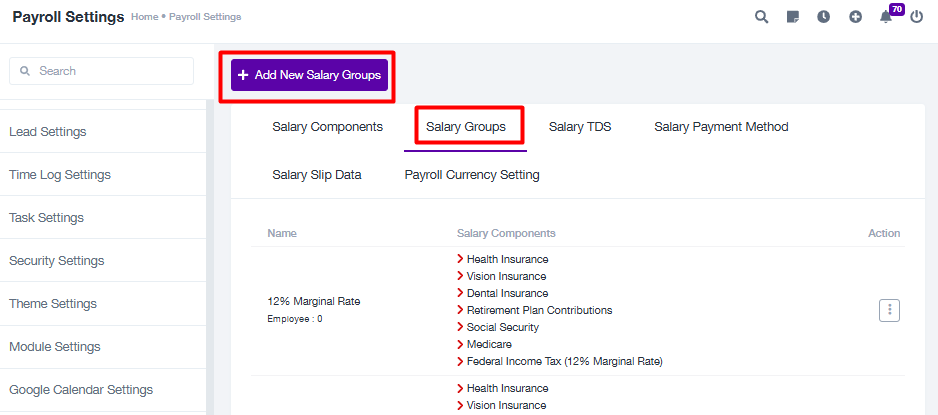
Navigate to Payroll Settings > Salary Groups.
Add or edit salary groups by associating specific salary components.
Name the group (e.g., 22% Marginal Rate) and assign salary components to it.
Save the configuration.
3. Salary TDS (Tax Deducted at Source):
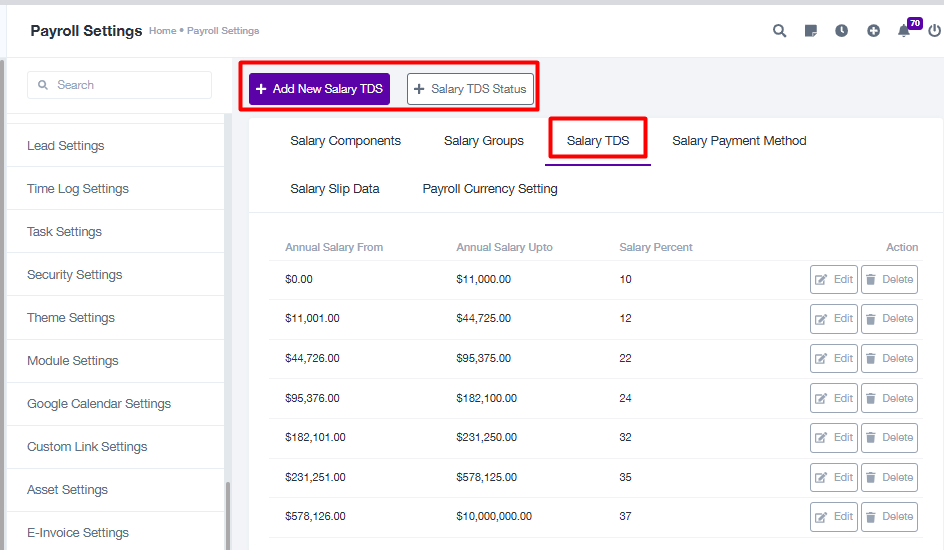
Navigate to Payroll Settings > Salary TDS.
Add or edit TDS slabs by defining:
Annual Salary From and Annual Salary Upto ranges.
Salary Percent: Tax percentage for the range.
Save the TDS slabs.
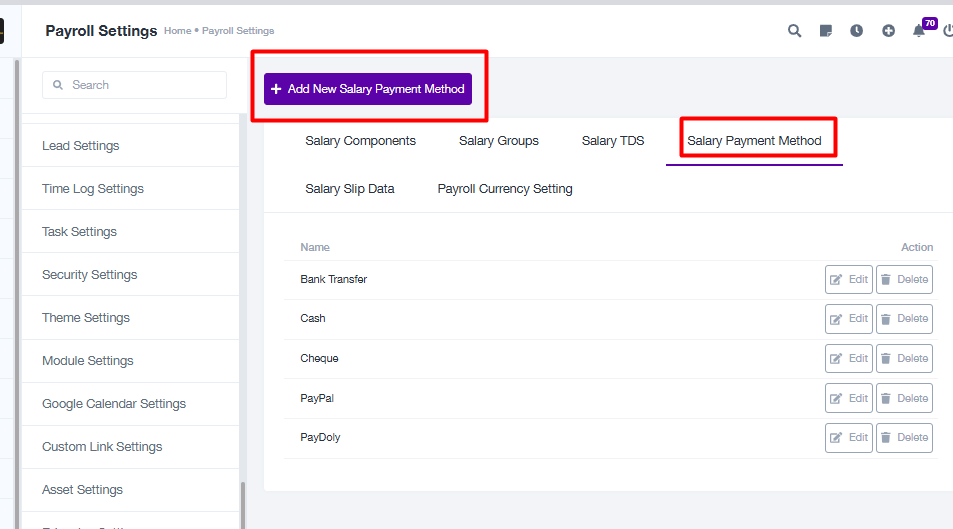
4. Salary Payment Method:
Navigate to Payroll Settings > Salary Payment Method.
Add or edit payment methods (e.g., Bank Transfer, PayPal, Cheque).
Save the changes.
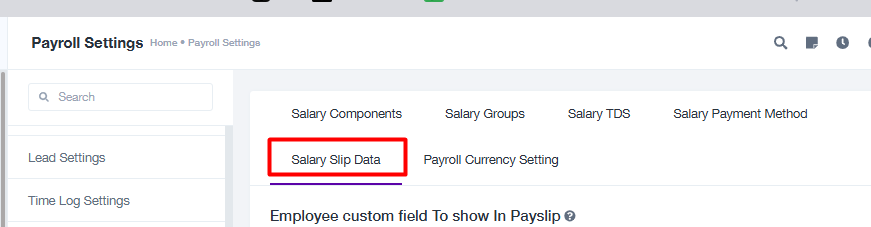
5. Salary Slip Data:
Navigate to Payroll Settings > Salary Slip Data.
Configure which custom fields to display in the employee’s salary slip.
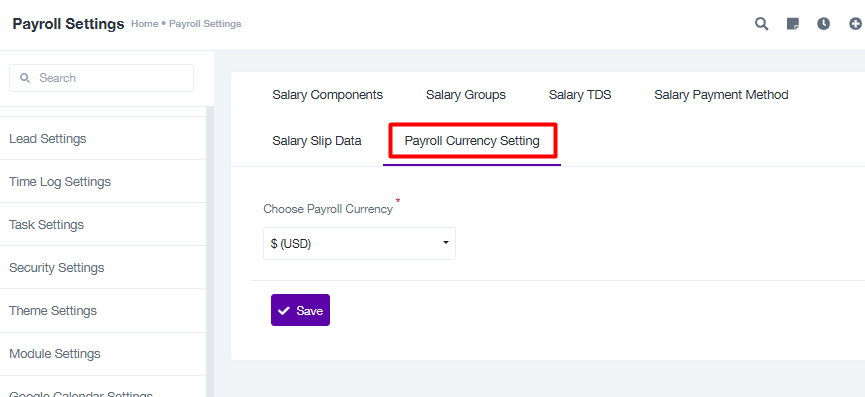
6. Payroll Currency Setting:
Navigate to Payroll Settings > Payroll Currency Setting.
Choose the payroll currency (e.g., USD, EUR) from the dropdown.
Click Save to apply changes.
Use Cases:
Manage employee payroll efficiently by customizing salary structures.
Automate tax deductions through TDS settings.
Simplify payroll currency configurations for global operations.
3. Overtime Settings
The Overtime Settings module allows administrators to configure overtime pay codes, define policies, assign policies to employees, and manage employee-specific hourly rates for overtime.
Subsections in Overtime Settings:
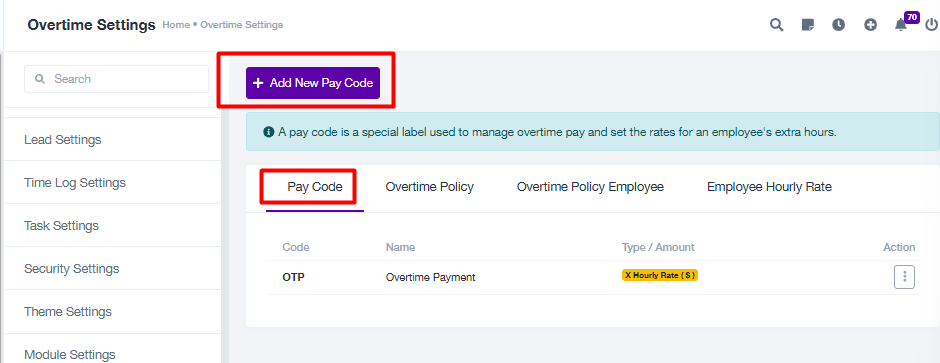
Pay Code
Pay codes are used to define overtime payment calculation methods.
Administrators can create pay codes with the following fields:
Pay Code: A unique identifier for the overtime pay type.
Pay Code Name: A descriptive name for the pay code.
Overtime Calculation: Two options available:
Multiplier of Hourly Pay: Define how many times the hourly rate applies (e.g., 1.5x).
Fixed Amount: Specify a fixed amount per overtime hour.
Description: Optional text for additional details.
Steps to Configure Overtime Settings:
Add a New Pay Code:
Navigate to Overtime Settings > Pay Code.
Click on Add New Pay Code.
Fill in the required fields: Pay Code, Pay Code Name, and select the calculation method.
Add a description if necessary.
Save the changes.
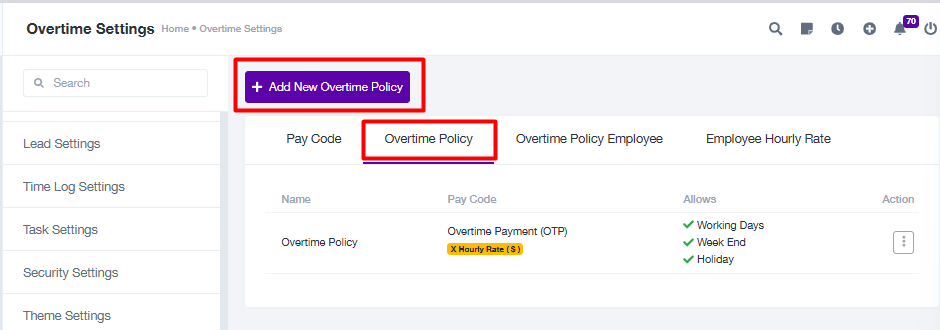
Overtime Policy
Administrators can create policies that define when overtime pay is applicable.
Policies can include:
Allowed days for overtime: Working Days, Weekends, and Holidays.
Pay Code association.
Steps to Configure Overtime Settings:
Create an Overtime Policy:
Navigate to Overtime Settings > Overtime Policy.
Click on Add New Overtime Policy.
Select the Pay Code and specify the allowed days for overtime.
Save the policy.
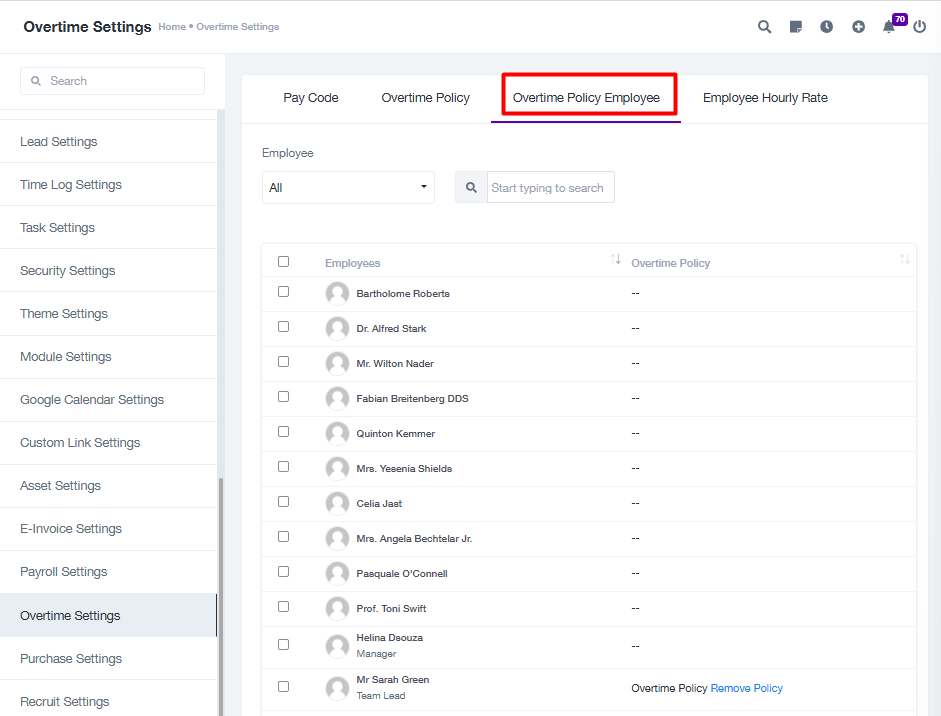
Overtime Policy Employee
Administrators can assign overtime policies to specific employees.
Employees can have different policies based on their roles or requirements.
Steps to Configure Overtime Settings:
Assign Overtime Policy to Employees:
Navigate to Overtime Policy Employee.
Select an employee from the list.
Assign an overtime policy from the dropdown.
Save the changes.
Employee Hourly Rate
Allows administrators to define custom hourly rates for each employee for overtime calculations.
Hourly rates can be updated individually for employees.
Steps to Configure Overtime Settings:
Update Employee Hourly Rates:
Navigate to Employee Hourly Rate.
Search or filter for a specific employee.
Enter the custom hourly rate for overtime.
Save the updates.
Notes:
Overtime settings provide flexibility in managing pay based on organizational policies.
Ensure that pay codes and policies are accurately configured to avoid payroll discrepancies.
4. Purchase Settings
The Purchase Settings module helps administrators manage purchase order configurations, including prefixes, numbering formats, and notifications for purchase-related activities.
Subsections in Purchase Settings:
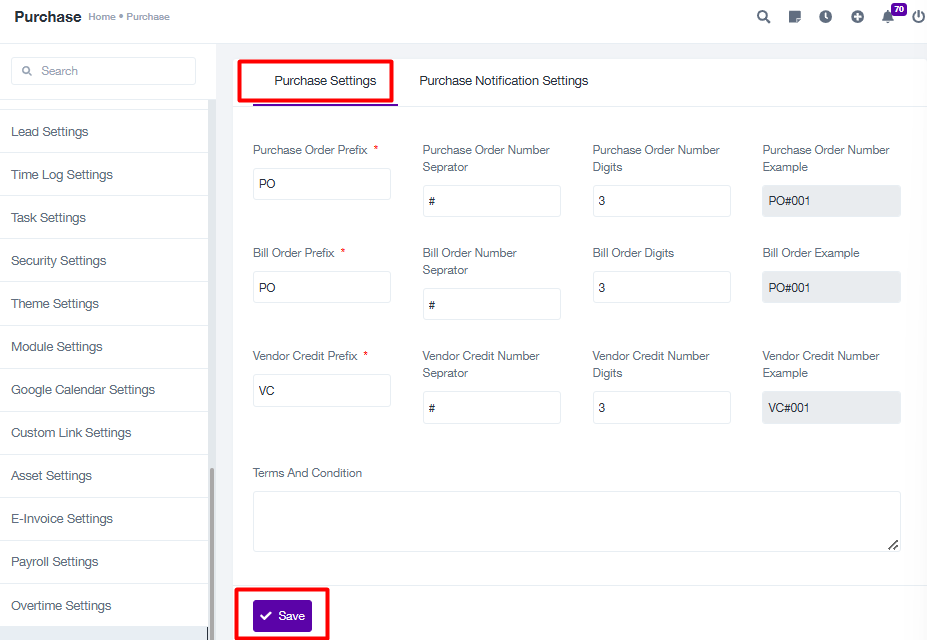
Purchase Settings
Allows the configuration of purchase order, bill order, and vendor credit details:
Prefixes: Define unique prefixes for Purchase Orders (PO), Bills (BO), and Vendor Credits (VC).
Separators: Choose a separator (e.g., #) for order numbers.
Number Digits: Specify the number of digits for each order number (e.g., 3 digits for PO#001).
Examples: Displays a preview of the configured numbering format.
Terms and Conditions: Add optional terms and conditions to include in all purchase orders.
Steps to Configure Purchase Settings:
Set Up Purchase Settings:
Navigate to Purchase Settings > Purchase Settings.
Enter the prefixes for Purchase Order, Bill Order, and Vendor Credit.
Define the number separator and the number of digits for each type of order.
Add Terms and Conditions if required.
Save the changes.
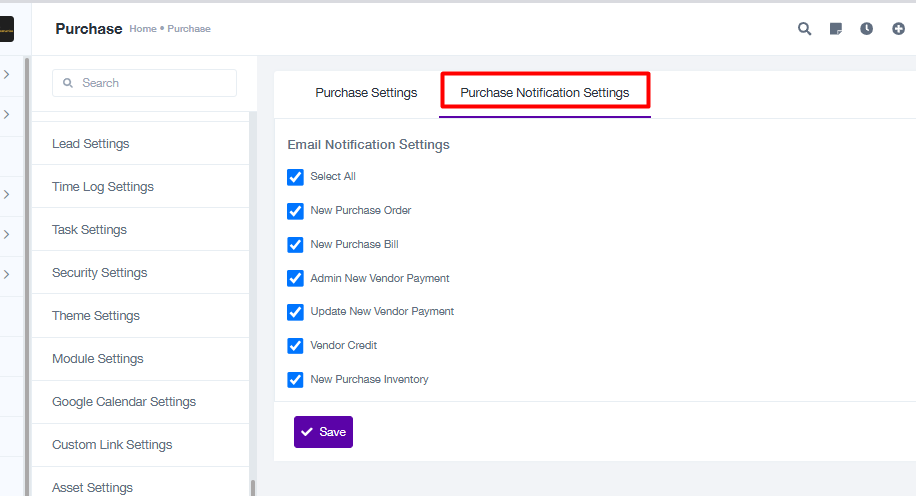
Purchase Notification Settings
Configure email notifications for various purchase-related events:
New Purchase Order
New Purchase Bill
Admin New Vendor Payment
Update New Vendor Payment
Vendor Credit
New Purchase Inventory
Notifications can be enabled or disabled individually or by selecting Select All.
Steps to Configure Purchase Settings:
Configure Purchase Notification Settings:
Navigate to Purchase Notification Settings.
Enable or disable email notifications for purchase events as needed.
Save the notification settings.
Notes:
Proper configuration of purchase settings ensures consistency in order tracking and numbering.
Notifications ensure stakeholders are informed about purchase activities in real time.