loading.. Please Wait
The Client Module allows you to manage your organization's clients. It provides functionalities to list, add, import, and export clients, as well as manage client-specific actions. The module has two tabs:
Accounts Listing: Displays all active clients.
Account Verification Pending: Lists clients whose accounts are awaiting verification.
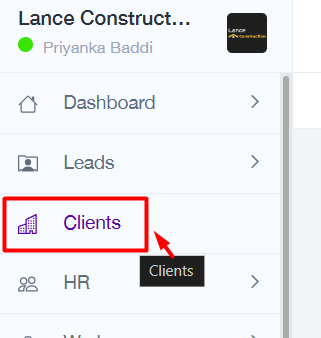
Navigate to the Clients section from the left-hand menu.
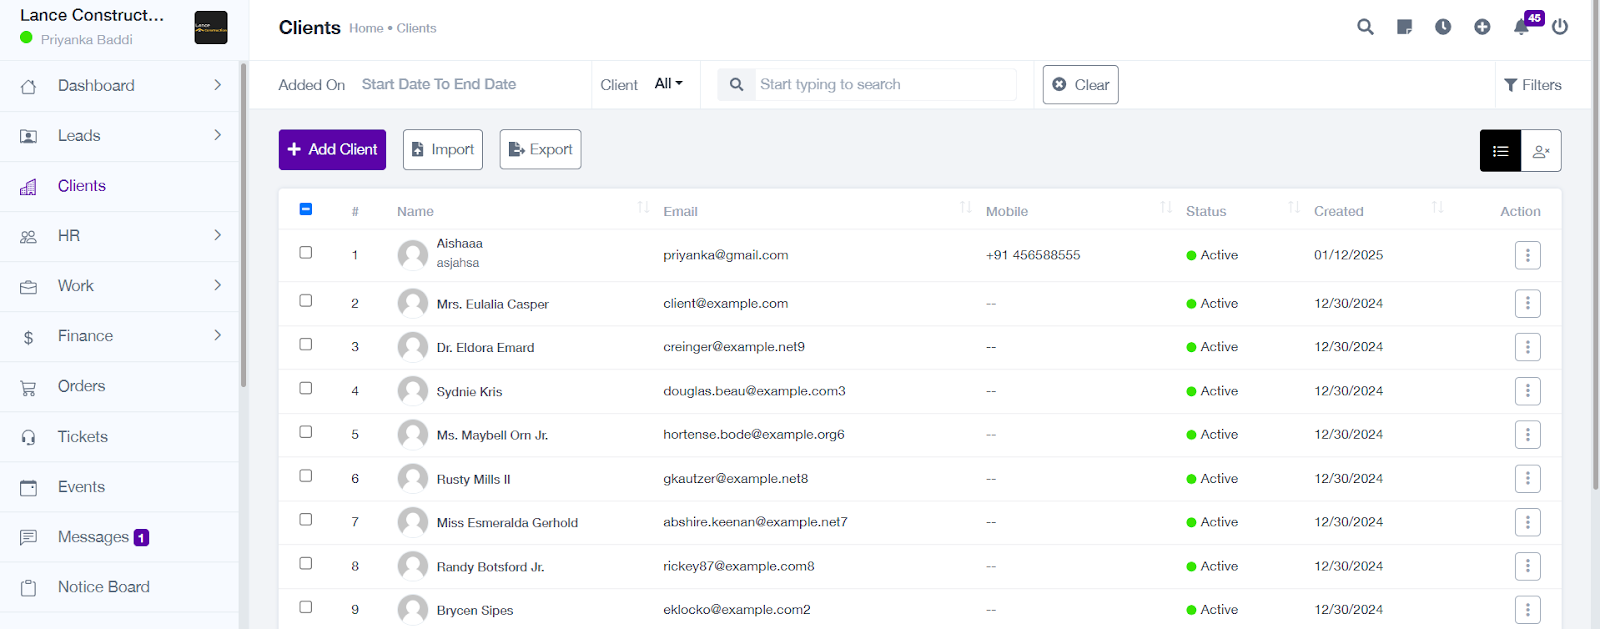
By default, you will land on the Accounts Listing tab.
a. Client Listing
View a comprehensive list of clients, displaying details such as:
Client Name
Mobile Number
Status (e.g., Active or Pending)
Creation Date
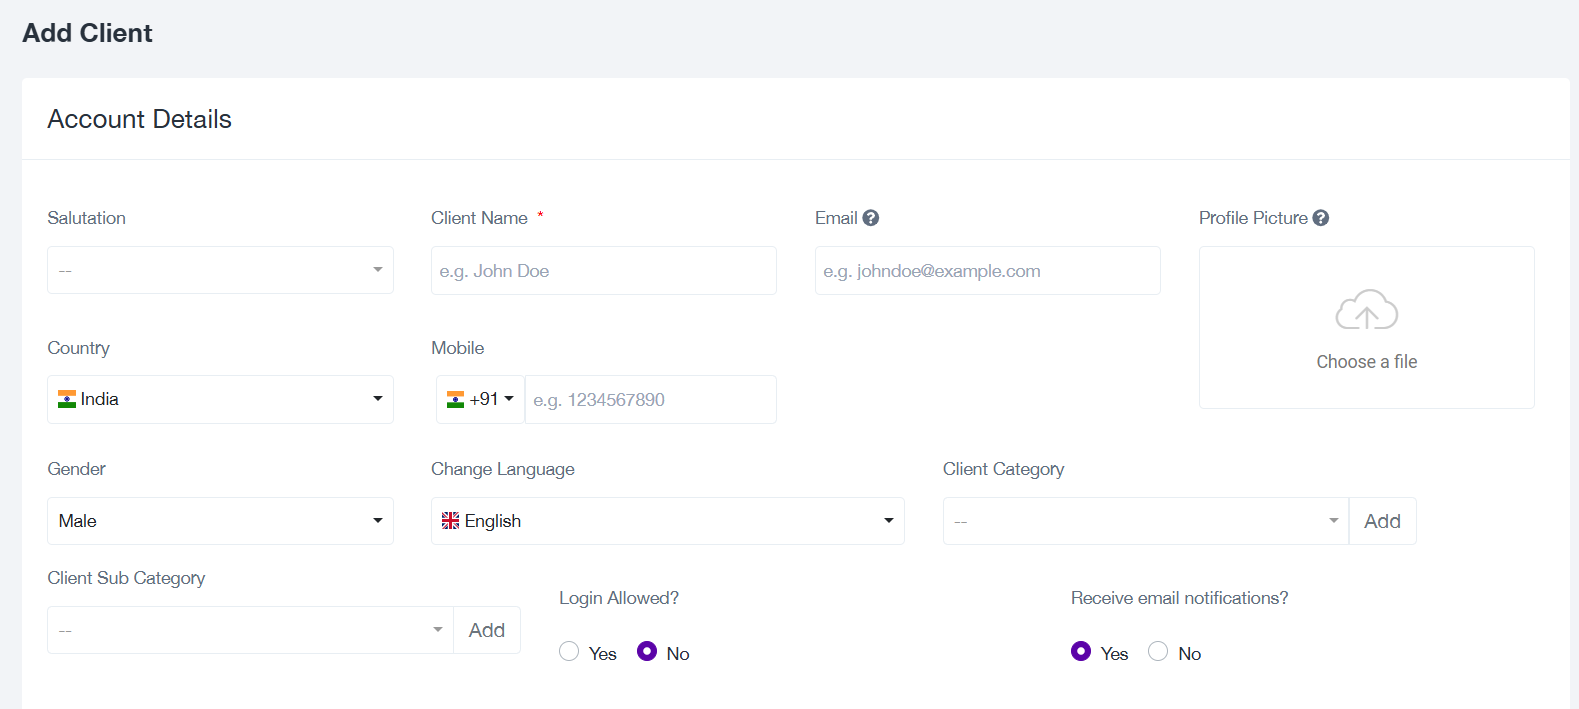
b. Add Client
Click the "Add Client" button to open the client creation form.
Fill in the required fields, which are divided into the following sections:
Account Details:
Client Name, Email, Mobile, Gender, Language, and Client Category.
Enable or disable Login Allowed for the client.
Company Details:
Company Name, Website, Office Phone Number, Address, and Tax Details (e.g., GST/VAT).
E-Invoice Settings:
Add the client’s Electronic Address for invoicing.
Upload a Profile Picture and Company Logo (optional).
Click "Save" to add the client, or "Save & Add More" to add multiple clients consecutively.
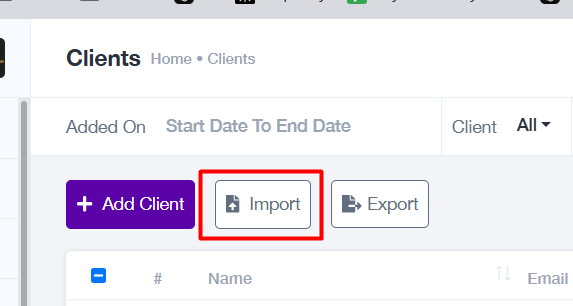
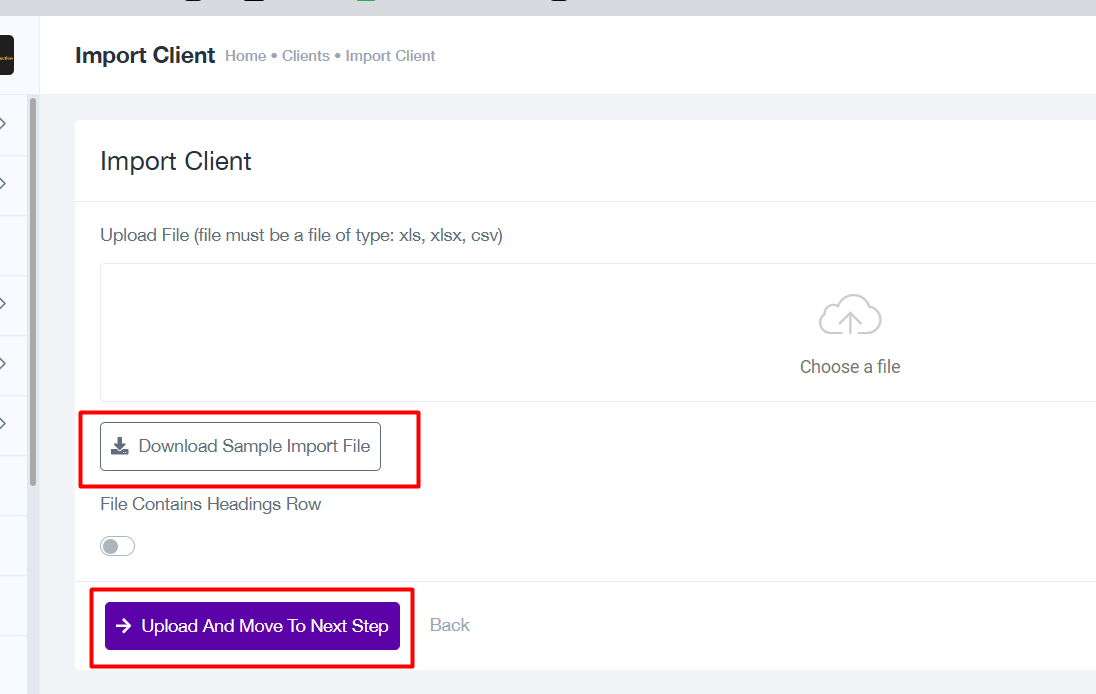
c. Import Clients
Click the "Import" button to upload multiple clients at once.
Steps for importing:
Download Template: Click "Download Sample Import File" to get the file format.
Fill in the client details in the template.
Upload the completed file using the "Choose a File" option.
Click "Upload and Move to Next Step" to import the clients.
Steps for importing:
Download Template: Click "Download Sample Import File" to get the file format.
Fill in the client details in the template.
Upload the completed file using the "Choose a File" option.
Click "Upload and Move to Next Step" to import the clients.
d. Export Clients
Click the "Export" button to download the list of clients in an Excel file for reporting or backup purposes.
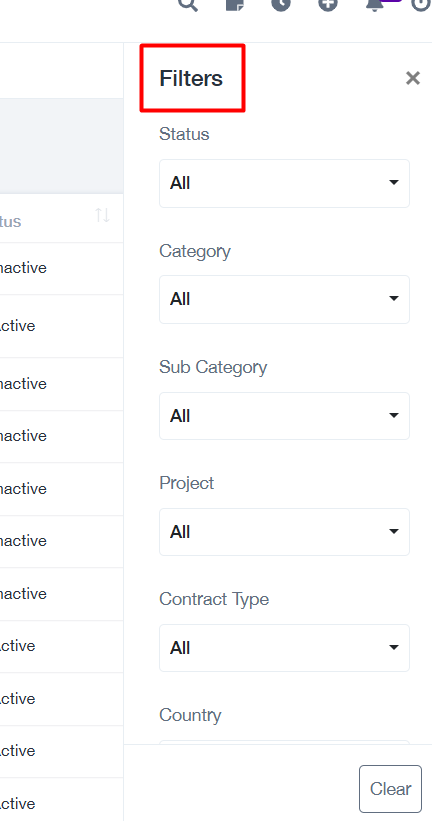
e. Search and Filter Clients
Use the Search Bar to locate clients by name, email, or other parameters.
Apply Filters to narrow down the client list by:
Status
Category
Subcategory
Project
Contract Type
Country
Verification Status
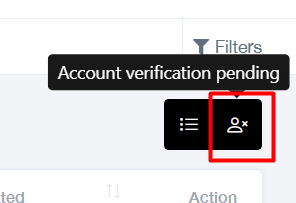
f. Tabs: Accounts Listing and Account Verification Pending
Accounts Listing: Displays active clients and their details.
Account Verification Pending: Displays clients whose accounts are not yet verified.
Switch between these tabs using the toggle button at the top-right corner of the dashboard.
4. Action Items for Individual Clients
Each client in the listing has an action menu (three dots) with the following options:
View: See detailed client information.
Edit: Modify client details such as name, email, or company info.
Delete: Permanently remove the client from the database.
Best Practices and Tips
Regularly verify client accounts to maintain an up-to-date client list.
Use filters to identify clients requiring immediate attention, such as pending verifications.
Export client data periodically for backup and reporting purposes.
Leverage the import functionality to save time when adding multiple clients.
Thank you for using the Client Module!
For further assistance, visit our Support Center or contact us at support@projeni.com