loading.. Please Wait
The Assets Module enables users to efficiently manage assets in the system. This includes functionalities such as adding new assets, exporting data, utilizing search and filter options, and performing action items like view, edit, and delete.
In navigation panel, click Assets to navigate to Assets Listing Page.
1. Assets Listing Page
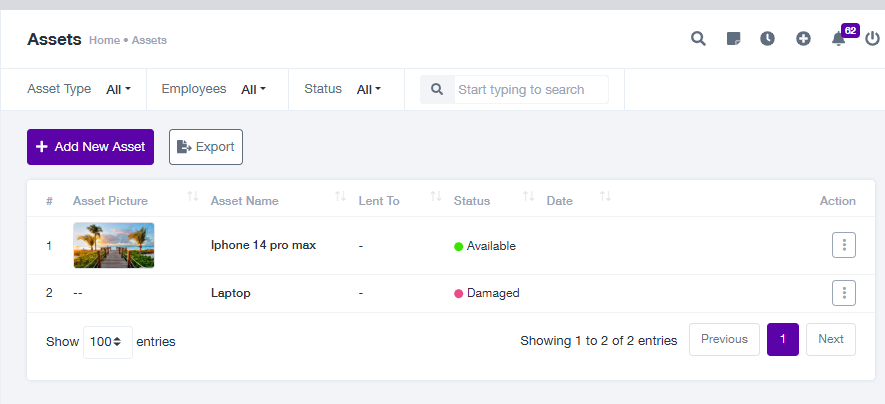
The Assets Listing Page displays a comprehensive table of all recorded assets, including details such as asset name, status, and related actions.
Columns Displayed: Asset Picture, Asset Name, Status, Lent To, Date, and Actions.
Actions: Users can perform quick actions (View, Edit, or Delete) directly from the table.
Steps to Use:
Navigate to the Assets Module.
View the listed assets with their statuses.
Use the Actions dropdown menu to view, edit, or delete specific assets.
2. Add New Asset
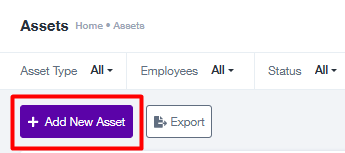
The Add New Asset page allows users to create detailed entries for new assets.
Steps to Add an Asset:
Click the Add New Asset button.
Fill out the required fields:
Asset Name: Enter the name (e.g., Laptop, iPhone).
Asset Type: Select from the dropdown or add a new type (e.g., Hardware).
Serial Number: Enter a unique identifier for the asset.
Location: Specify the asset’s physical location.
Value: Assign a monetary value (optional).
Status: Choose the current status (e.g., Available, Damaged, Lost).
Upload an asset image if necessary.
Click Save to create the asset.
3. Export Assets
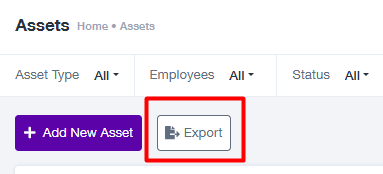
The Export functionality allows users to download a report of all assets in the system.
Steps to Export Assets:
Click the Export button.
The system will download the file in the specified format (CSV/Excel).
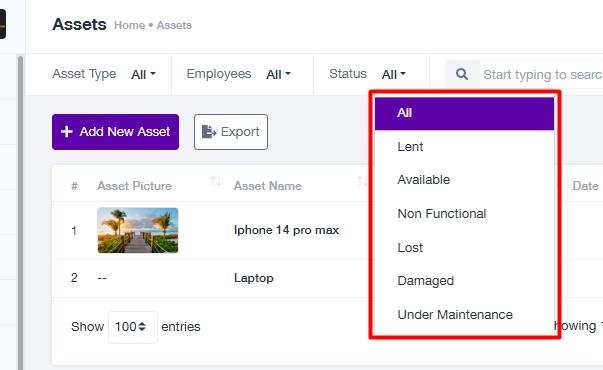
4. Search and Filter drop down
Users can refine their search results using the search bar and filter options for efficient navigation.
Available Filters:
Asset Type: Filter by specific asset categories.
Employees: Filter by the employee associated with the asset.
Status: Filter by asset status (Available, Lost, Damaged, etc).
Steps to Search or Filter:
Use the Search Bar to type keywords related to the asset.
Use the dropdown filters to narrow the results.
Results will dynamically update based on the input.
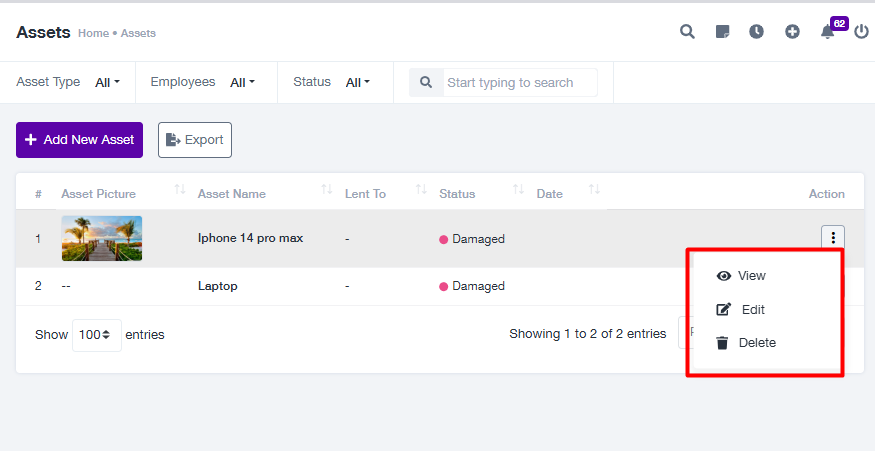
5. Action Items
The following actions can be performed directly from the listing page:
View: Open the asset’s details in a dedicated view page.
Edit: Modify asset details through the edit form.
Delete: Remove an asset permanently from the system.
Steps for Actions:
Click the Actions dropdown for the asset.
Select View, Edit, or Delete.
For Delete, a confirmation prompt will appear. Confirm to proceed.
FAQs
Q1: Can I add a new Asset Type?
Yes, click the Add button next to the Asset Type dropdown on the Add New Asset page. Enter the desired type and save it.
Q2: What happens when I delete an asset?
Deleted assets are permanently removed from the system and cannot be recovered.
Q3: How do I update the status of an asset?
Use the Edit option in the Actions menu to modify the status (e.g., Available to Damaged).
Best Practices
Always assign a unique serial number for better tracking.
Regularly update the asset status to reflect accurate conditions.
Use filters effectively to locate specific assets quickly.
Support Assistance
For any issues or further assistance, please contact Projeni Support at support@projeni.com.