loading.. Please Wait
1. Overview of Leaves Submodule
The Leaves Submodule allows you to manage and monitor employee leave requests and track leave balances. It includes features such as listing leaves, adding new leave entries, exporting data, and switching between different views for efficient management.
2. Accessing the Leaves Dashboard
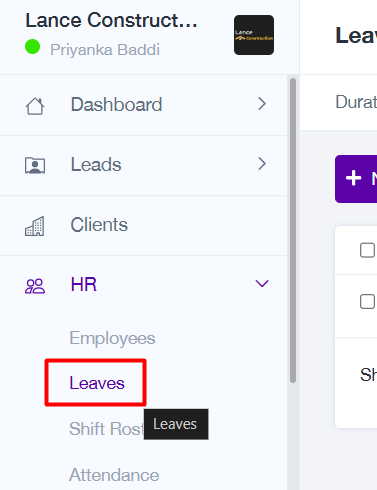
Navigate to the HR section in the left-hand menu.
Select Leaves to open the Leaves Dashboard.
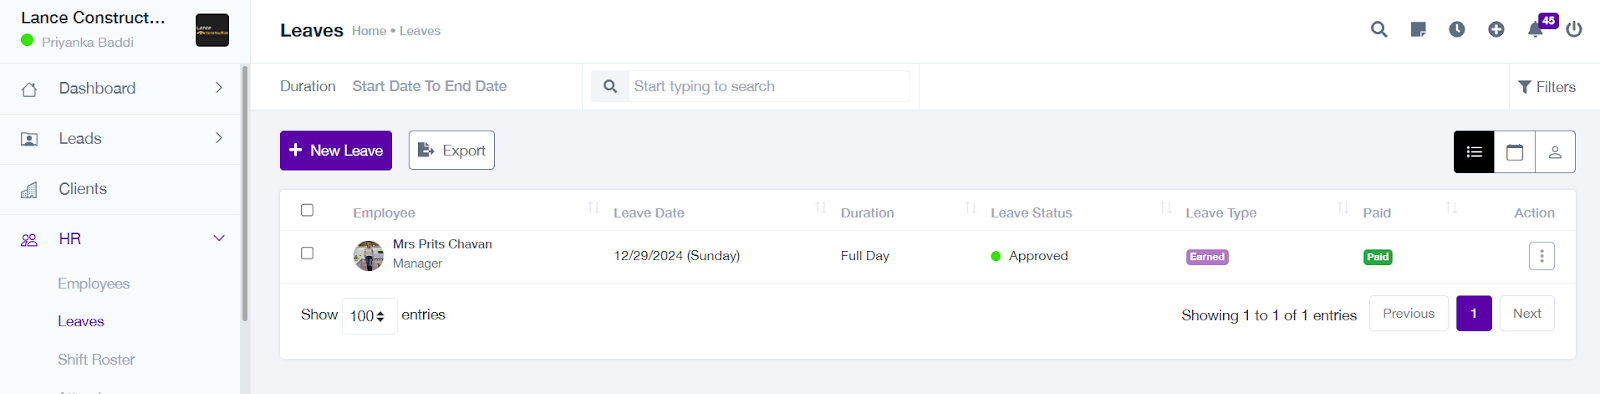
Features of the Leaves Dashboard
The dashboard provides an overview of leave records, including employee name, leave date, duration, status, leave type, and payment status.
a. Leaves Listing Page
Displays a table of leave records with the following details:
Employee Name
Leave Date
Duration (e.g., Full Day, Half Day)
Leave Status (e.g., Approved, Pending)
Leave Type (e.g., Casual, Earned)
Payment Status (e.g., Paid, Unpaid)
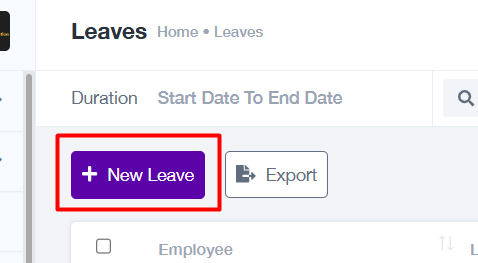
b. Add New Leave
Click the "New Leave" button to assign leave to an employee.
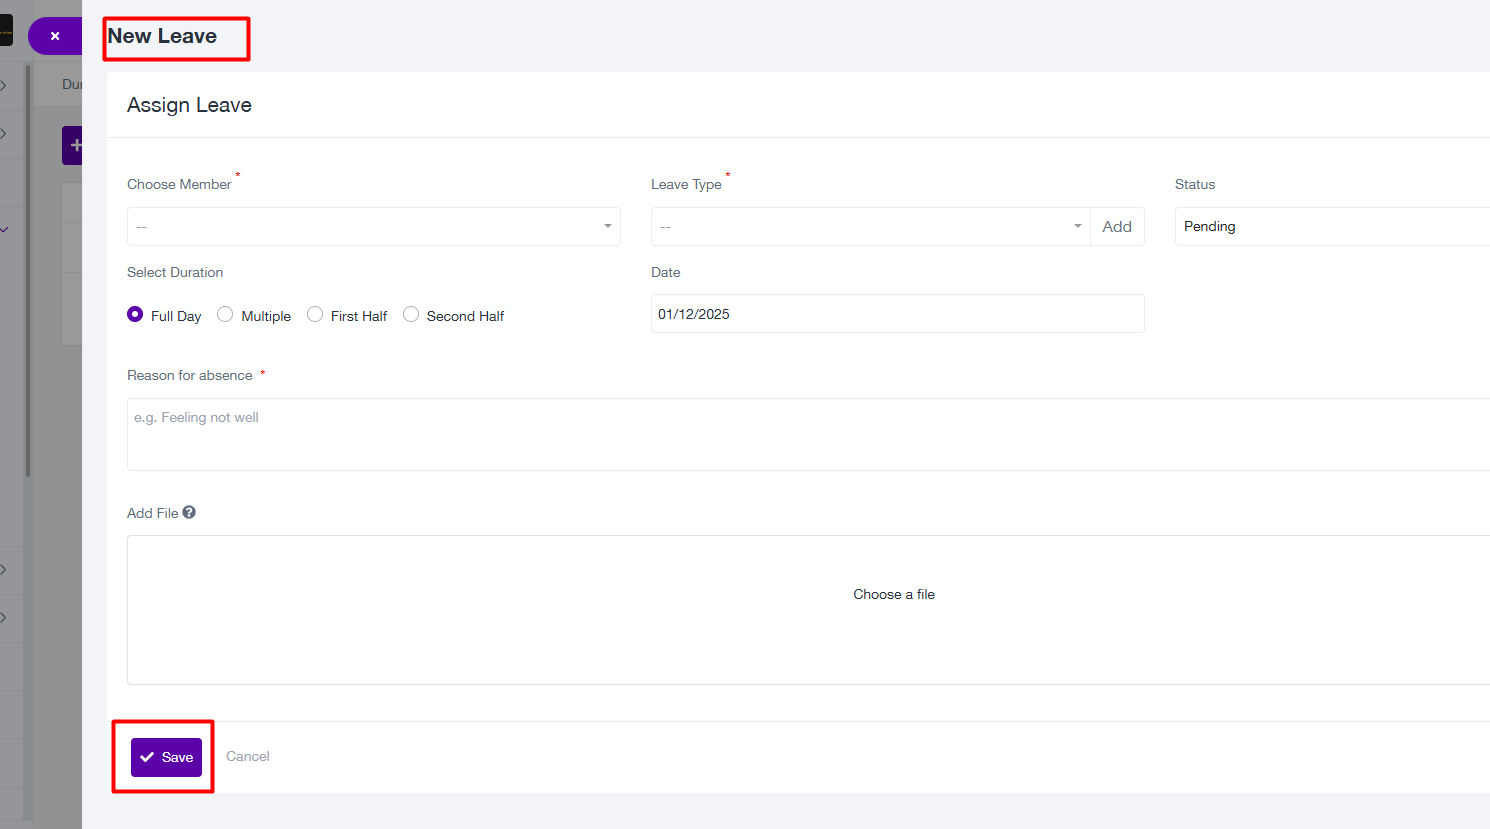
Fill in the required fields in the Assign Leave form:
Choose Member: Select the employee to whom the leave is being assigned.
Leave Type: Specify the type of leave (e.g., Casual, Sick, Earned).
Status: Set the leave status (e.g., Pending, Approved).
Select Duration: Choose the leave duration (e.g., Full Day, First Half, Second Half, or Multiple Days).
Date: Select the leave date(s).
Reason for Absence: Provide the reason for the leave.
Add File: Attach any relevant supporting documents (optional).
Click "Save" to assign the leave.
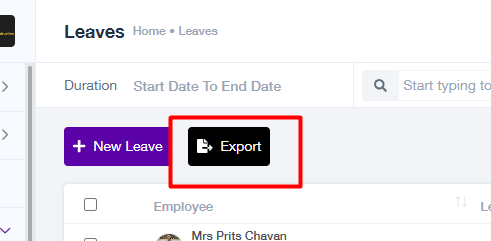
c. Export Leave Records
Click the "Export" button to download the list of leave records in an Excel file for reporting or backup purposes.
d. Action Items for Leave Records
Each leave record in the listing has an action menu (three dots) with the following options:
View: View detailed information about the leave request, including reason and attached files.
Delete: Permanently remove the leave record.
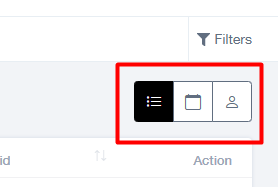
4. Tabs and View Options
The Leaves Submodule provides three tabs for viewing and managing leave data:
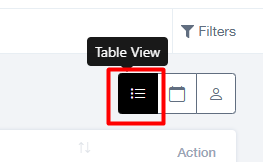
a. Table View
The default view, displaying leave records in a tabular format for easy review and management.
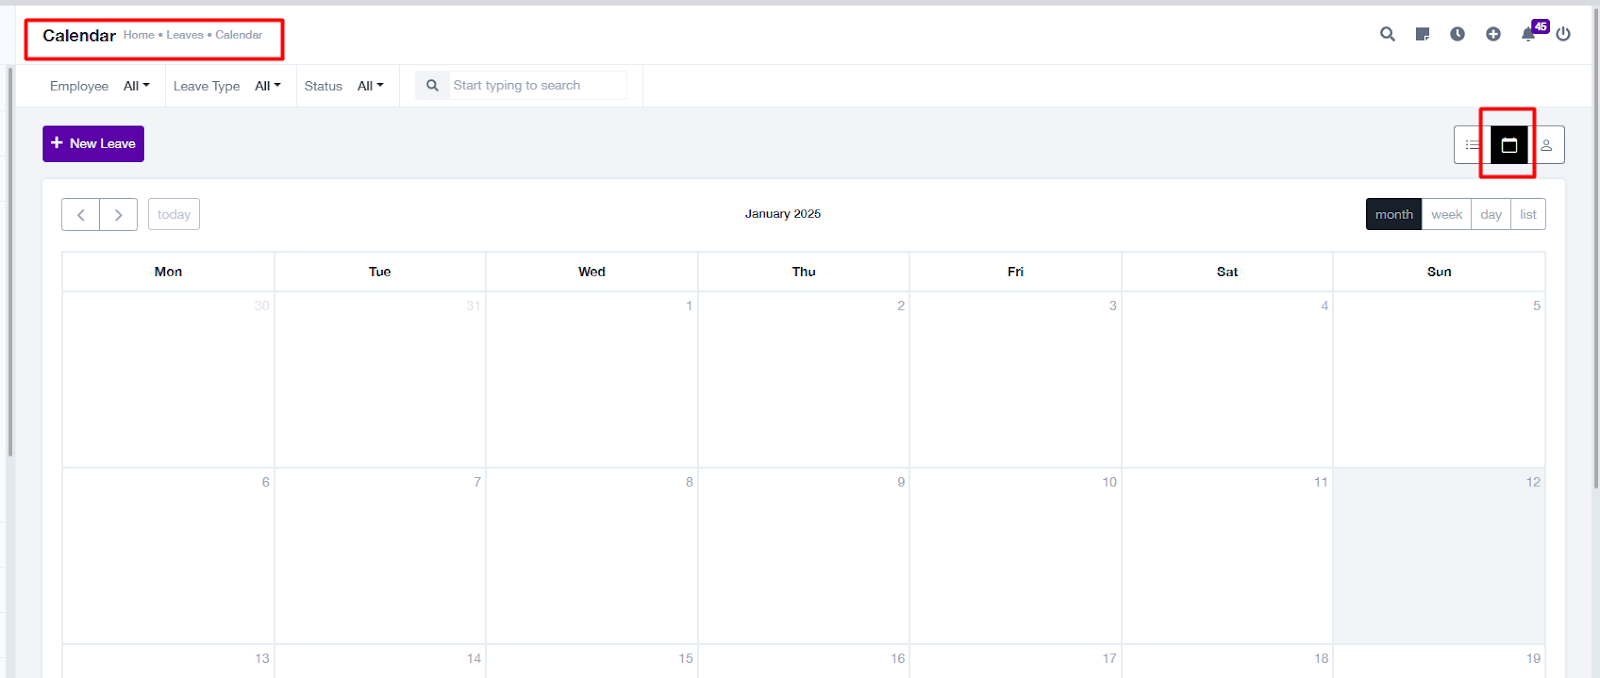
b. Calendar View
Click the Calendar View Widget to switch to a calendar-based interface.
Features:
View leave records by day, week, or month.
Click on specific dates to see leave details or add a new leave directly.
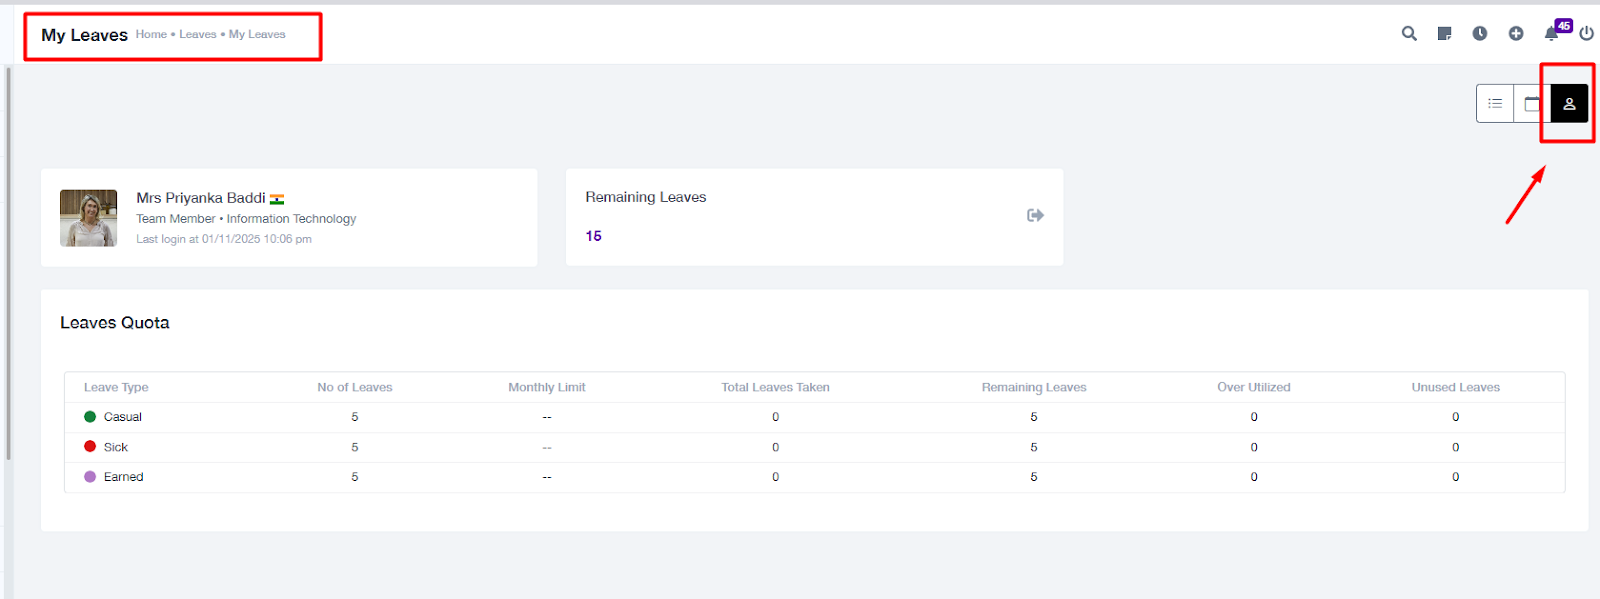
c. My Leaves
Click the My Leaves Widget to view leave details specific to your account.
Features:
Displays your leave quota, including leave type (e.g., Casual, Sick, Earned), limits, and remaining balances.
Helps track overutilized and unused leave balances.
5. Leave Status and Types
Leave Status:
Pending: Awaiting approval.
Approved: Leave has been approved.
Rejected: Leave has been declined.
Leave Types:
Casual Leave: General purpose leave.
Sick Leave: For health-related absences.
Earned Leave: Based on work tenure or policies.
Best Practices and Tips
Use the Calendar View for quick visualization of leave trends and scheduling conflicts.
Ensure leave records are accurately updated with status changes to avoid discrepancies.
Export leave data regularly for record-keeping and reporting.
Track your personal leave balances using the My Leaves tab to plan leaves efficiently.
Thank you for using the Leaves Submodule!
For further assistance, visit our Support Center or contact us at support@projeni.com