loading.. Please Wait
The Invoices submodule within the Finance module is designed to manage, track, and organize invoices efficiently. This guide walks you through all features of the submodule to help you understand its functionality.
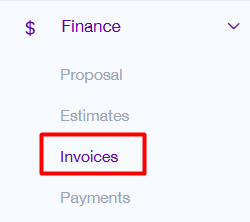
Accessing the Invoices Submodule
Navigate to the Finance module from the left-hand menu.
Click on Invoices to open the Invoice Listing Page.
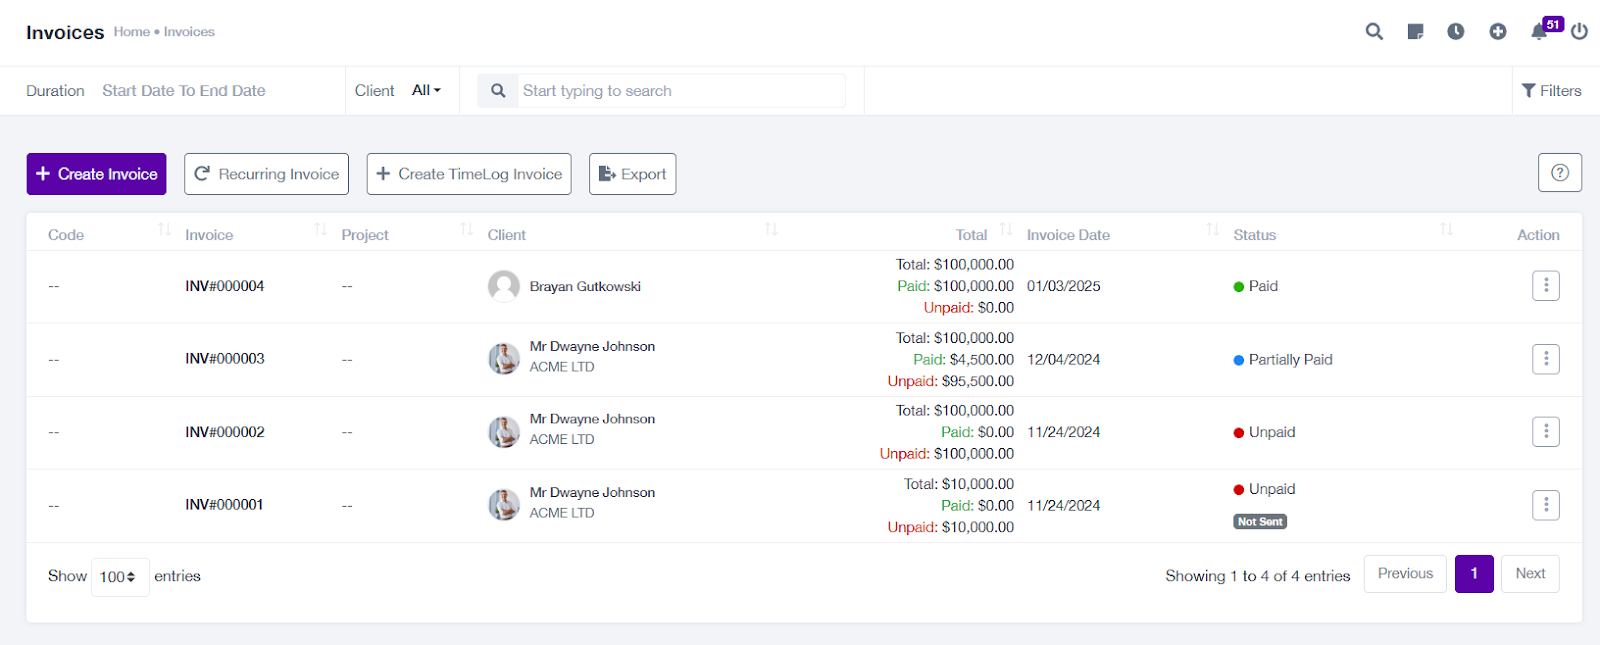
Invoice Listing Page
The Invoice Listing Page is your main dashboard for managing invoices.
Key Features:
Search: Quickly find invoices by typing keywords like client name, invoice number, or project name in the search bar.
Filters:
Filter invoices by Client, Duration, or Invoice Status (e.g., Paid, Unpaid, Overdue).
Reset filters by clicking Clear.
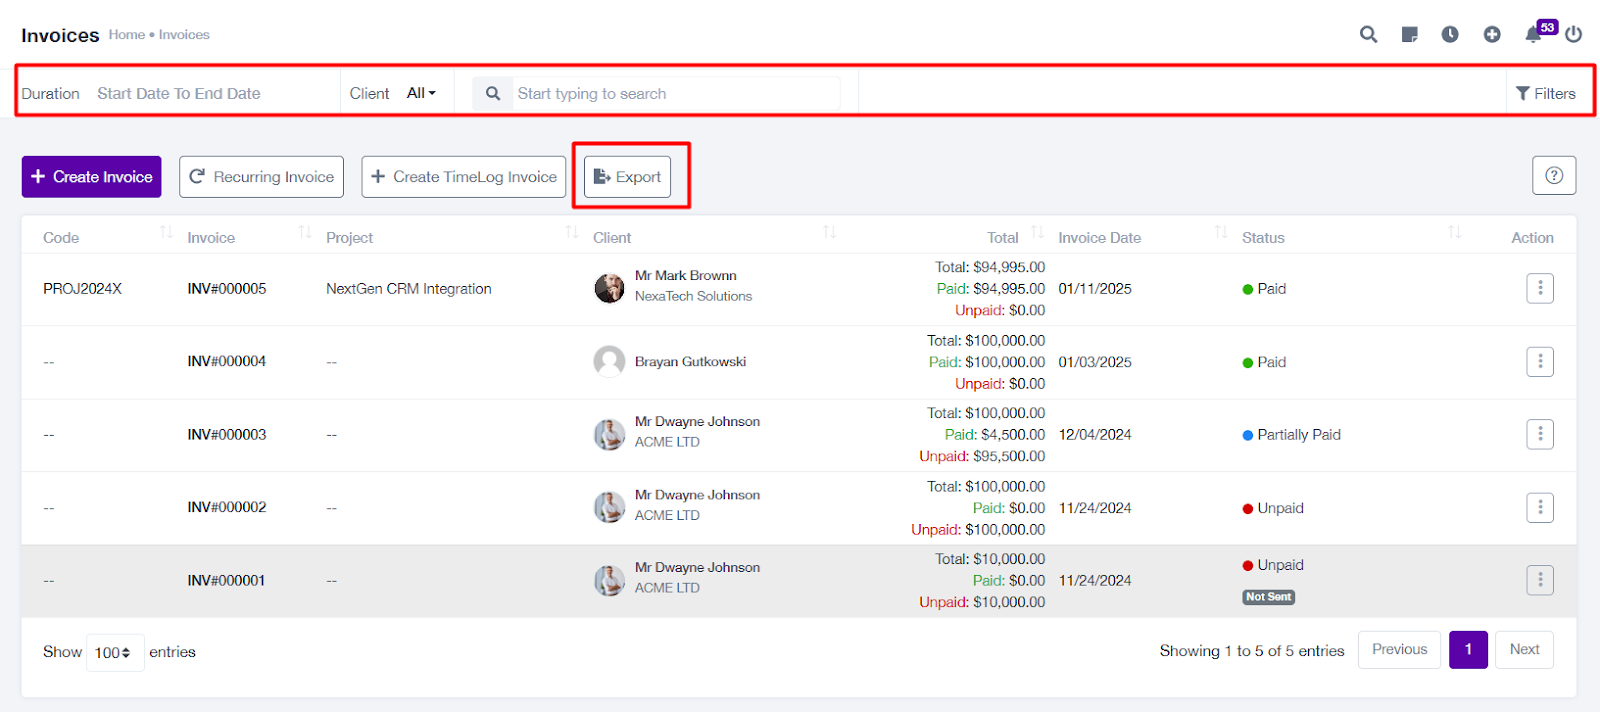
Export: Download all invoices as a .xlsx file for record-keeping or analysis.
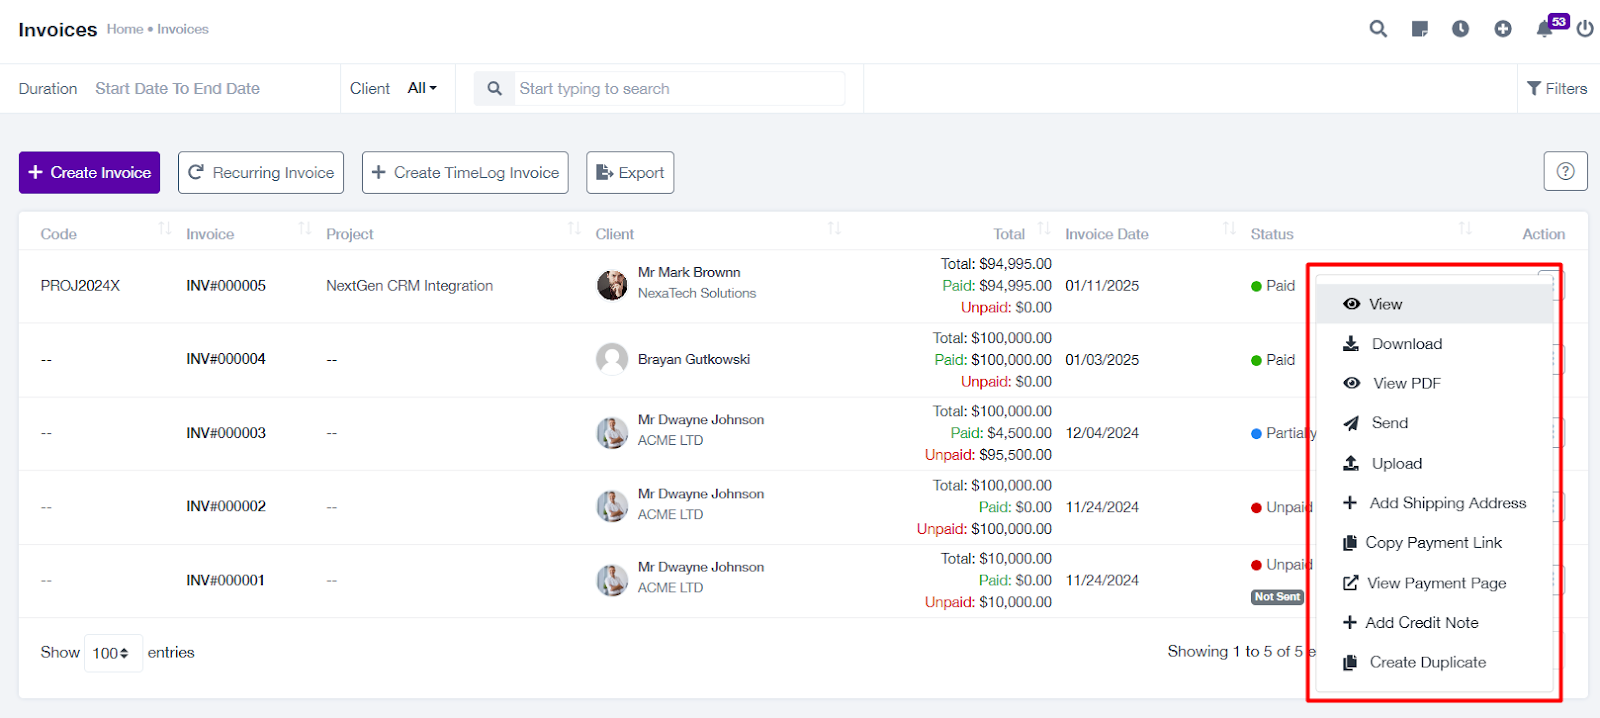
Action Items:
Use the action menu (three dots) to perform tasks such as:
View: Open and review the invoice details.
Download: Download the invoice in a printable format.
View PDF: Preview the invoice as a PDF.
Send: Email the invoice directly to the client.
Edit: Make changes to an existing invoice.
Add Payment: Record payment for the invoice.
Show Shipping Address: View the associated shipping details.
Copy Payment Link: Generate and copy a payment link for the client.
View Payment Page: Open the payment page for the invoice.
Add Credit Note: Attach a credit note to the invoice.
Payment Reminder: Send a payment reminder to the client.
Create Duplicate: Duplicate the invoice for re-use.
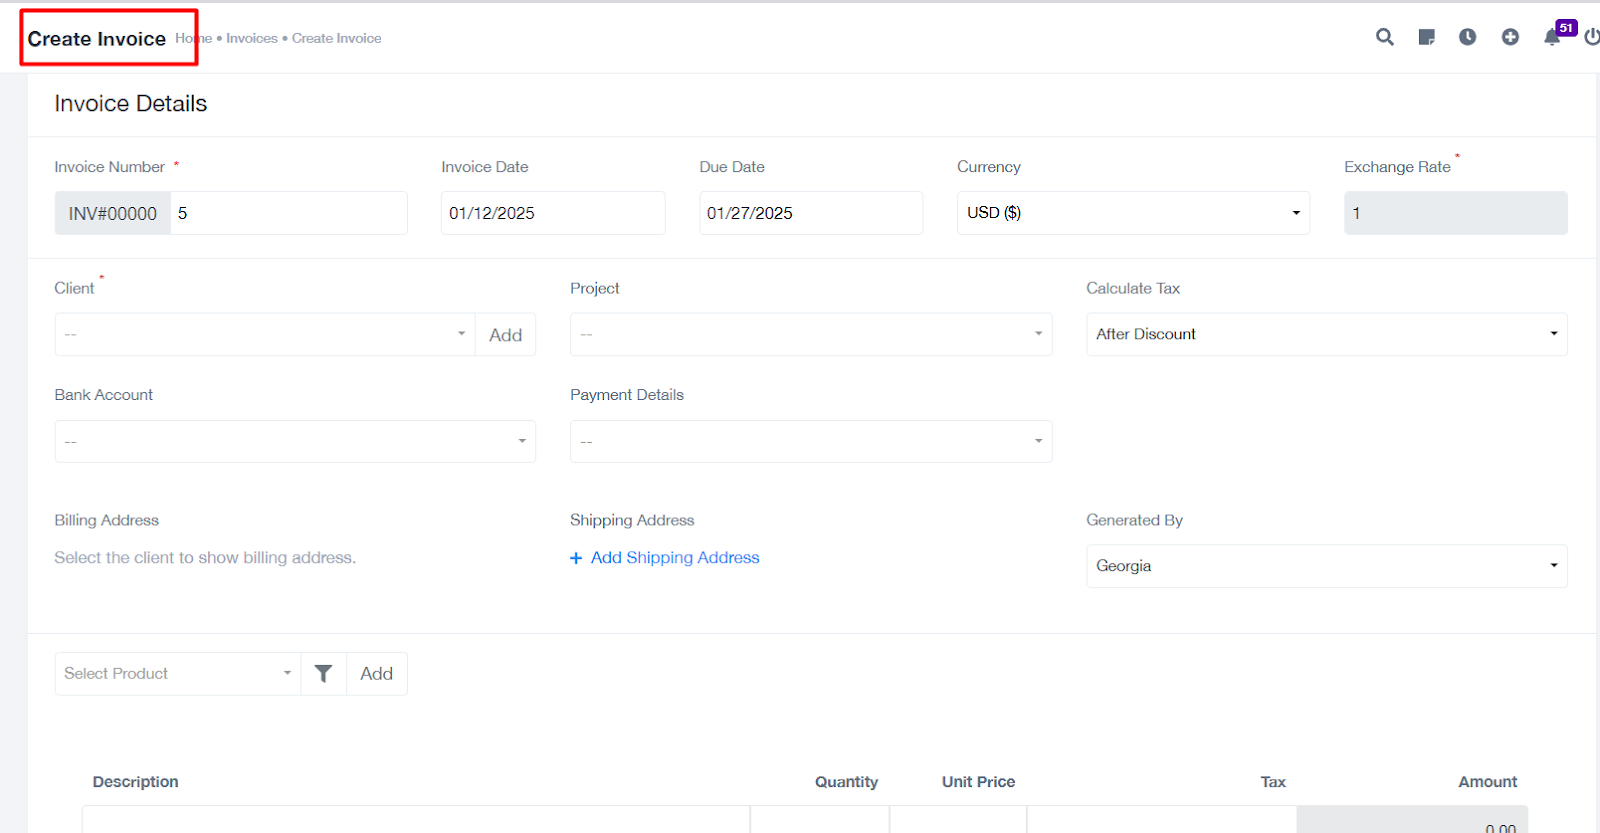
Creating an Invoice
To create a new invoice:
Click the Create Invoice button.
Fill in the required details:
Invoice Number: Automatically generated, but can be customized.
Client: Select the client from the dropdown list.
Invoice Date and Due Date: Specify the invoice issuance and due dates.
Currency: Choose the applicable currency.
Exchange Rate: Specify the currency exchange rate (if applicable).
Billing and Shipping Address: Select or add the billing and shipping addresses.
Project: Associate the invoice with a project (if applicable).
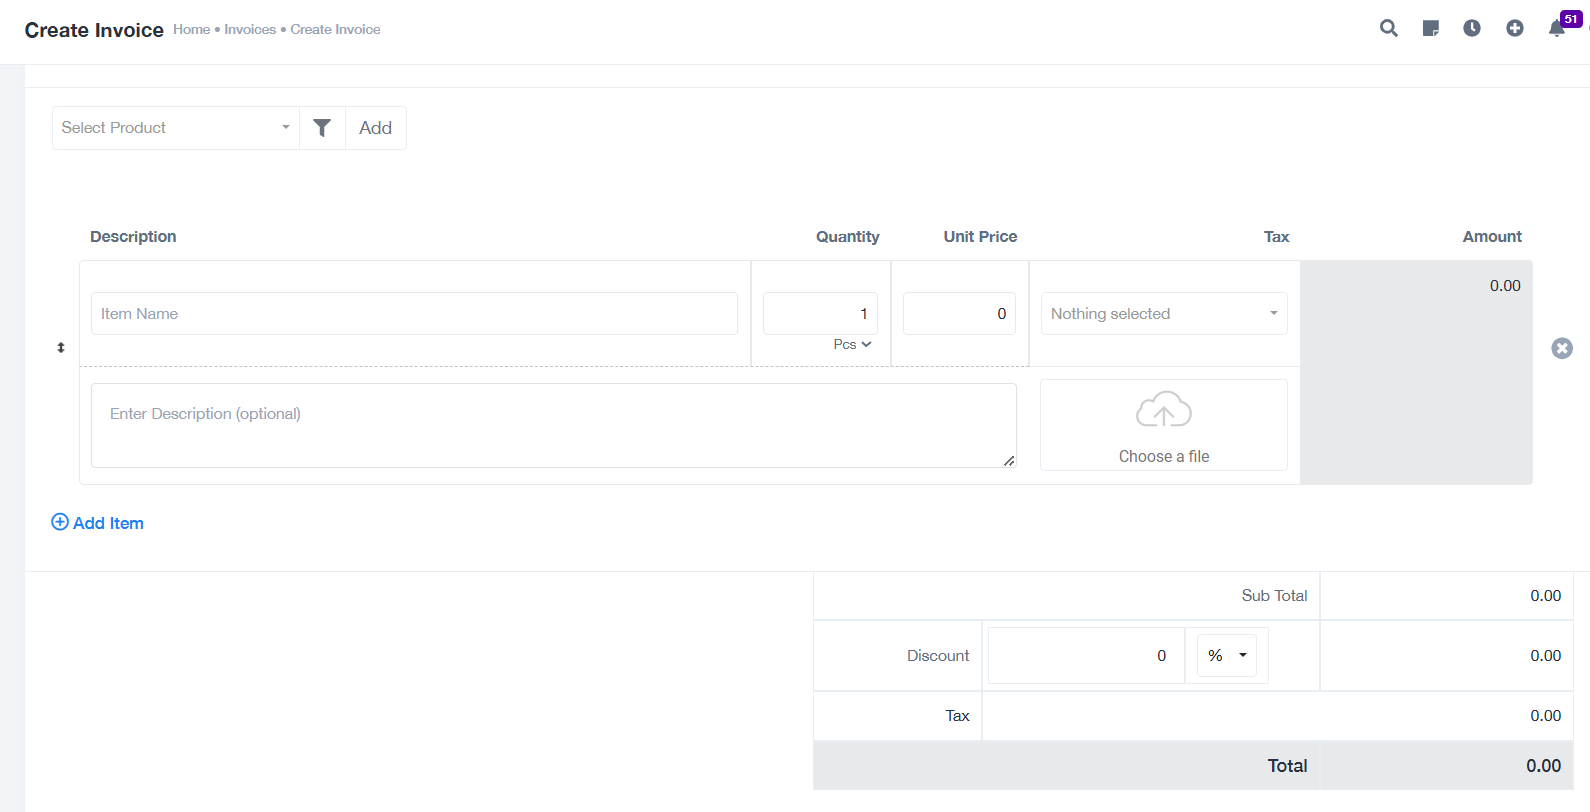
Add Items:
Select products or services from the dropdown.
Specify the Quantity, Unit Price, and applicable Tax.
Totals will be calculated automatically.
Additional Features:
Add payment details, terms, and notes for the recipient.
Upload supporting files if needed.
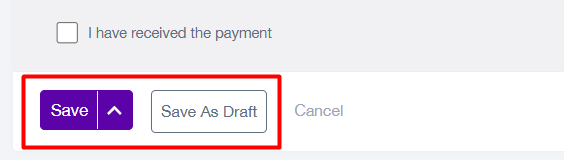
Click Save to create the invoice or Save as Draft to continue editing later.
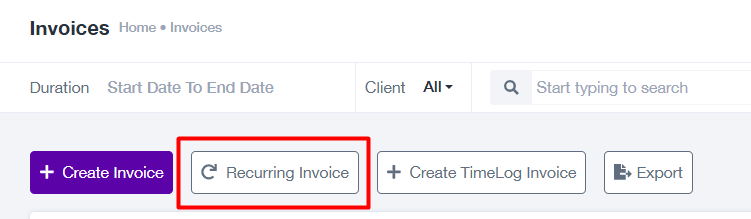
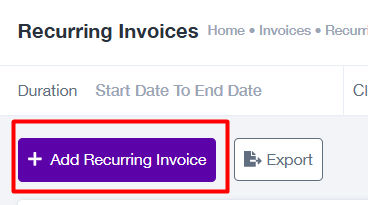
Recurring Invoices
Recurring invoices automate the invoicing process for repeat billing.
Go to the Recurring Invoices page by clicking the corresponding button on the Invoice Listing Page.
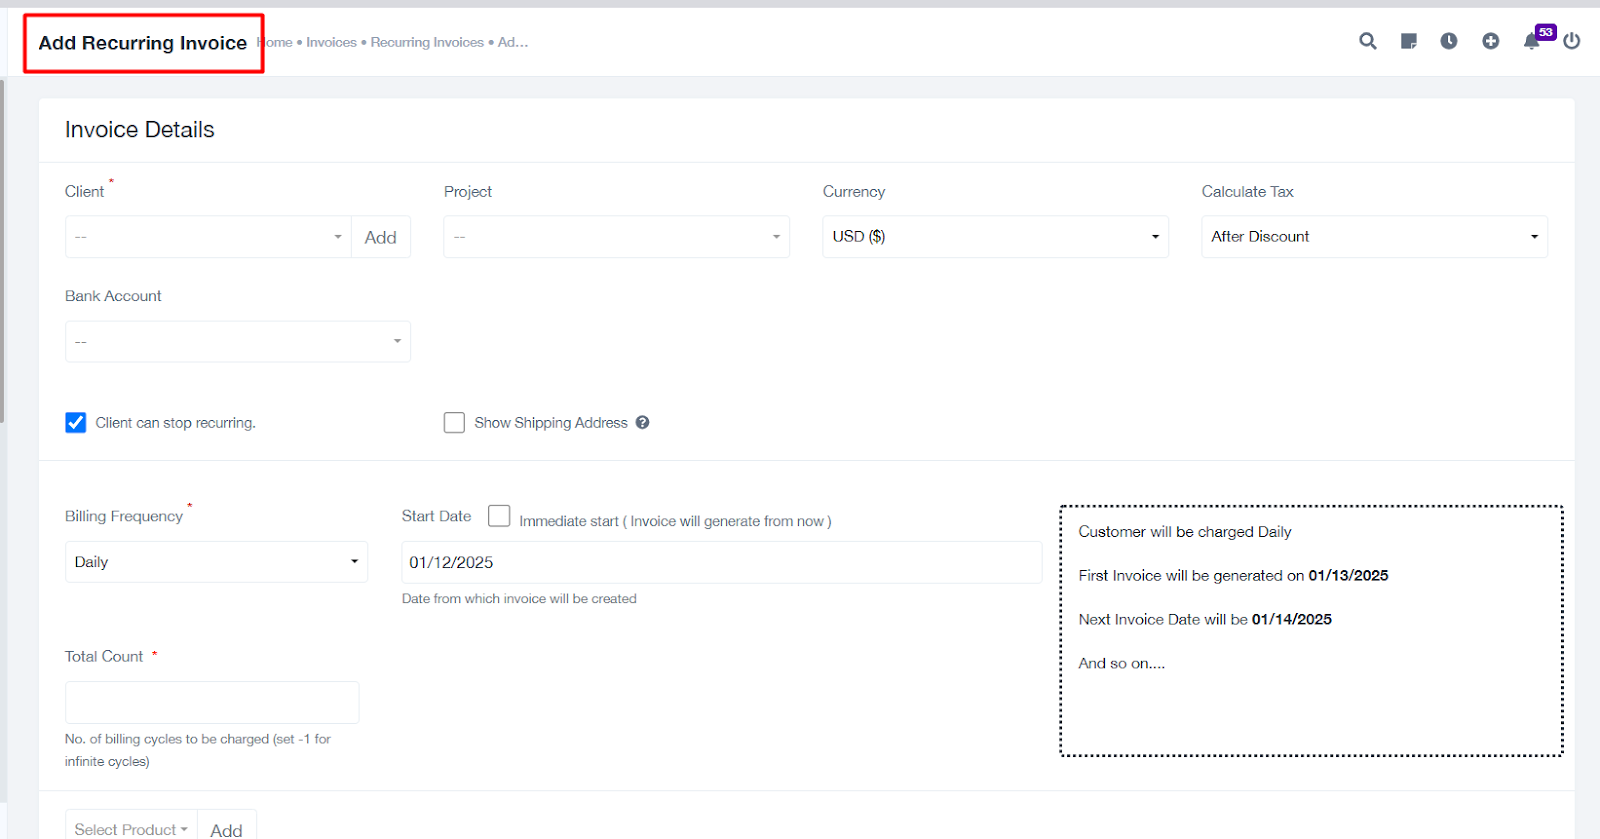
Click Add Recurring Invoice to set up a new recurring invoice.
Fill in the details, including frequency, start date, and next invoice date.
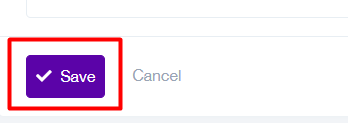
Save the recurring invoice to schedule automatic generation.
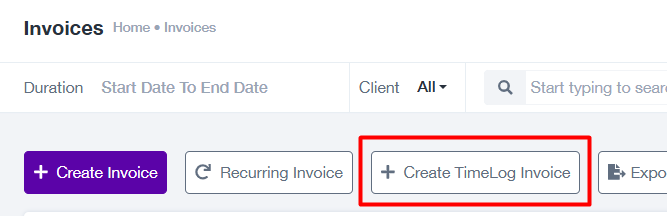
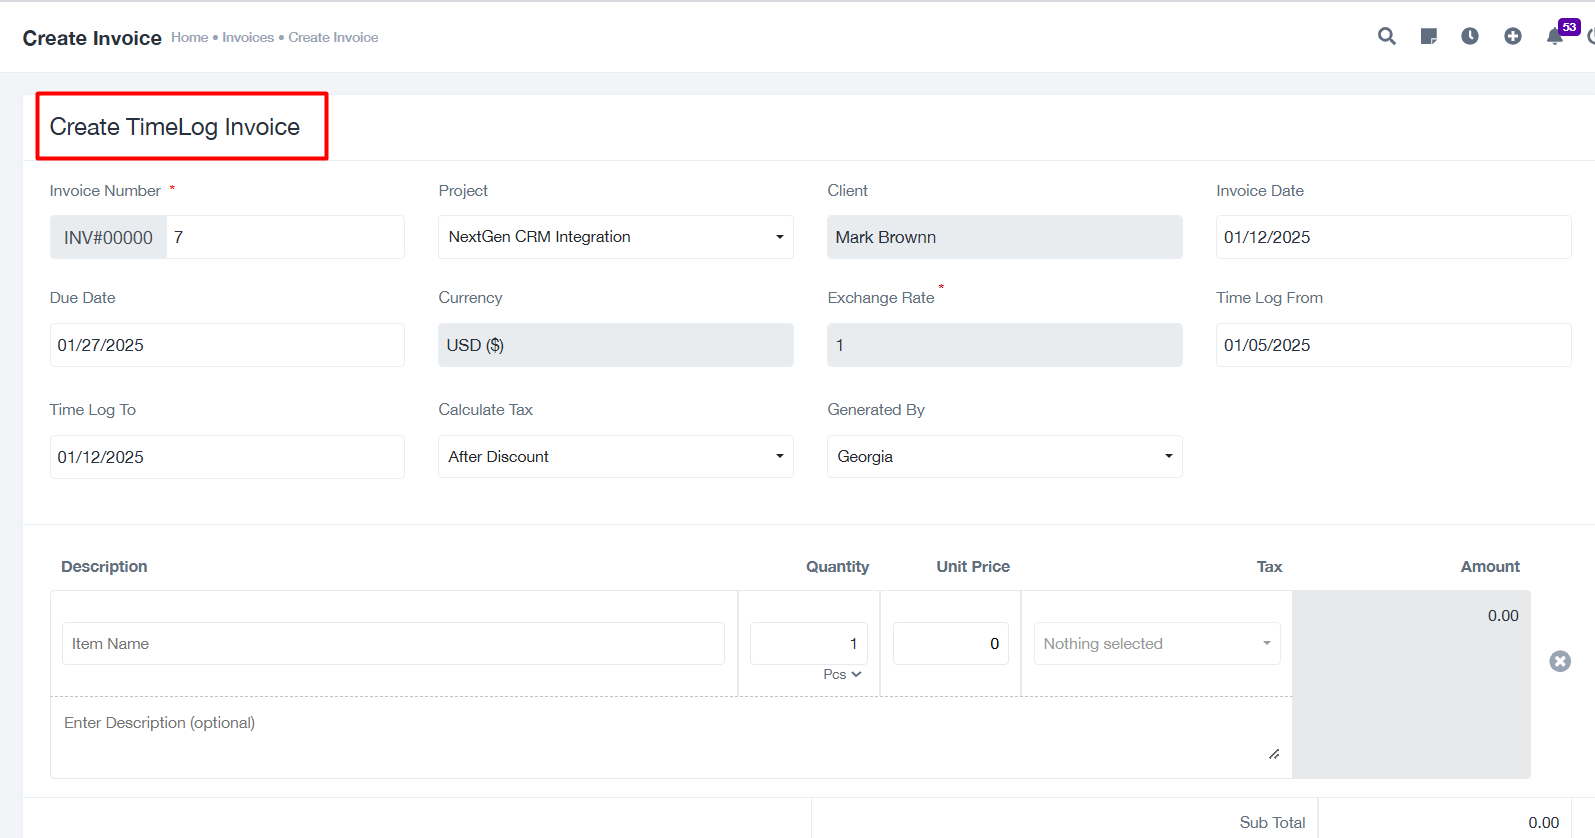
Creating a Timelog Invoice
Timelog invoices allow you to bill clients for tracked time.
Click the Create Timelog Invoice button on the Invoice Listing Page.
Enter the required details, such as time log start and end dates, project, and client.
Add items, descriptions, and terms as needed.
Save the timelog invoice for review or sending.
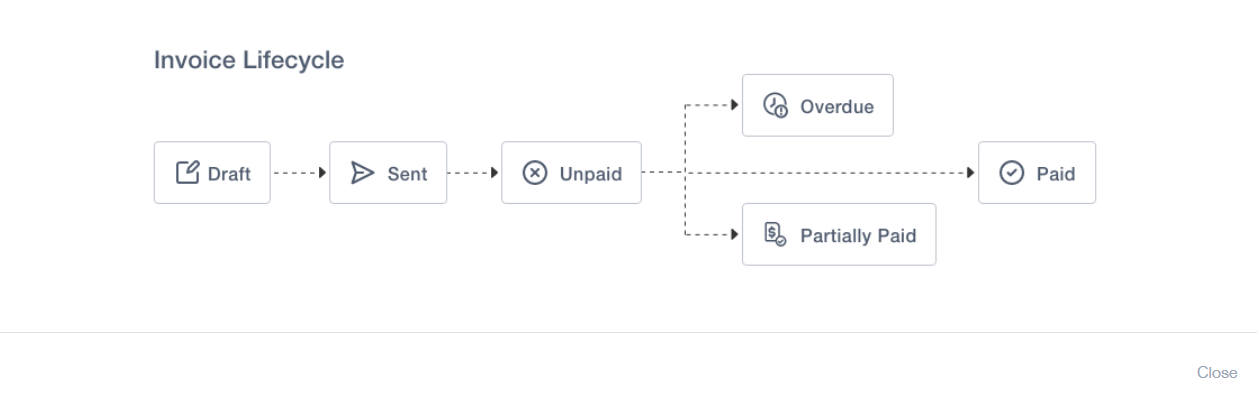
Invoice Lifecycle
Understanding the stages of an invoice:
Draft: Invoice is saved as a draft and not yet sent.
Sent: Invoice is sent to the client.
Unpaid: Invoice is awaiting payment.
Partially Paid: Client has made partial payment.
Paid: Invoice is fully paid.
Overdue: Payment is overdue past the due date.
Best Practices
Always double-check client details and invoice items before sending.
Use recurring invoices for clients with regular billing to save time.
Set clear due dates and include payment terms to avoid confusion.
Regularly follow up on overdue invoices using the Payment Reminder feature.
Keep records up to date by exporting invoices periodically.
FAQs
Q: Can I edit an invoice after sending it?
A: Yes, invoices can be edited unless they are marked as "Paid". Use the Edit action item to make changes.
Q: How do I record a partial payment?
A: Click on Add Payment from the action menu, enter the partial amount, and save it. The status will update to Partially Paid.
Q: Can I create an invoice in a different currency?
A: Yes, select the desired currency while creating the invoice and provide the exchange rate if needed.
Q: What happens to recurring invoices if I disable them?
A: Disabling a recurring invoice stops it from generating new invoices, but past invoices remain unaffected.
Q: Can I resend an invoice to a client?
A: Yes, use the Send action item to resend the invoice email.
Support Assistance
For additional help or troubleshooting, please contact our support team through the Help section in the app or email us at support@projeni.com.